Add WiFi Interface
- 10 Apr 2024
- 3 Minutes to read
- Print
- DarkLight
- PDF
Add WiFi Interface
- Updated on 10 Apr 2024
- 3 Minutes to read
- Print
- DarkLight
- PDF
Article summary
Did you find this summary helpful?
Thank you for your feedback
You can set up a WiFi interface to connect the Nodegrid to a WiFi network.
Note: To use the device as a WiFi client, any existing hotspot connection must be disabled (make sure Carrier State is Down).
To configure the interface:
- Go to Network :: Connections.
- Click Add. All default interfaces are listed on this page.
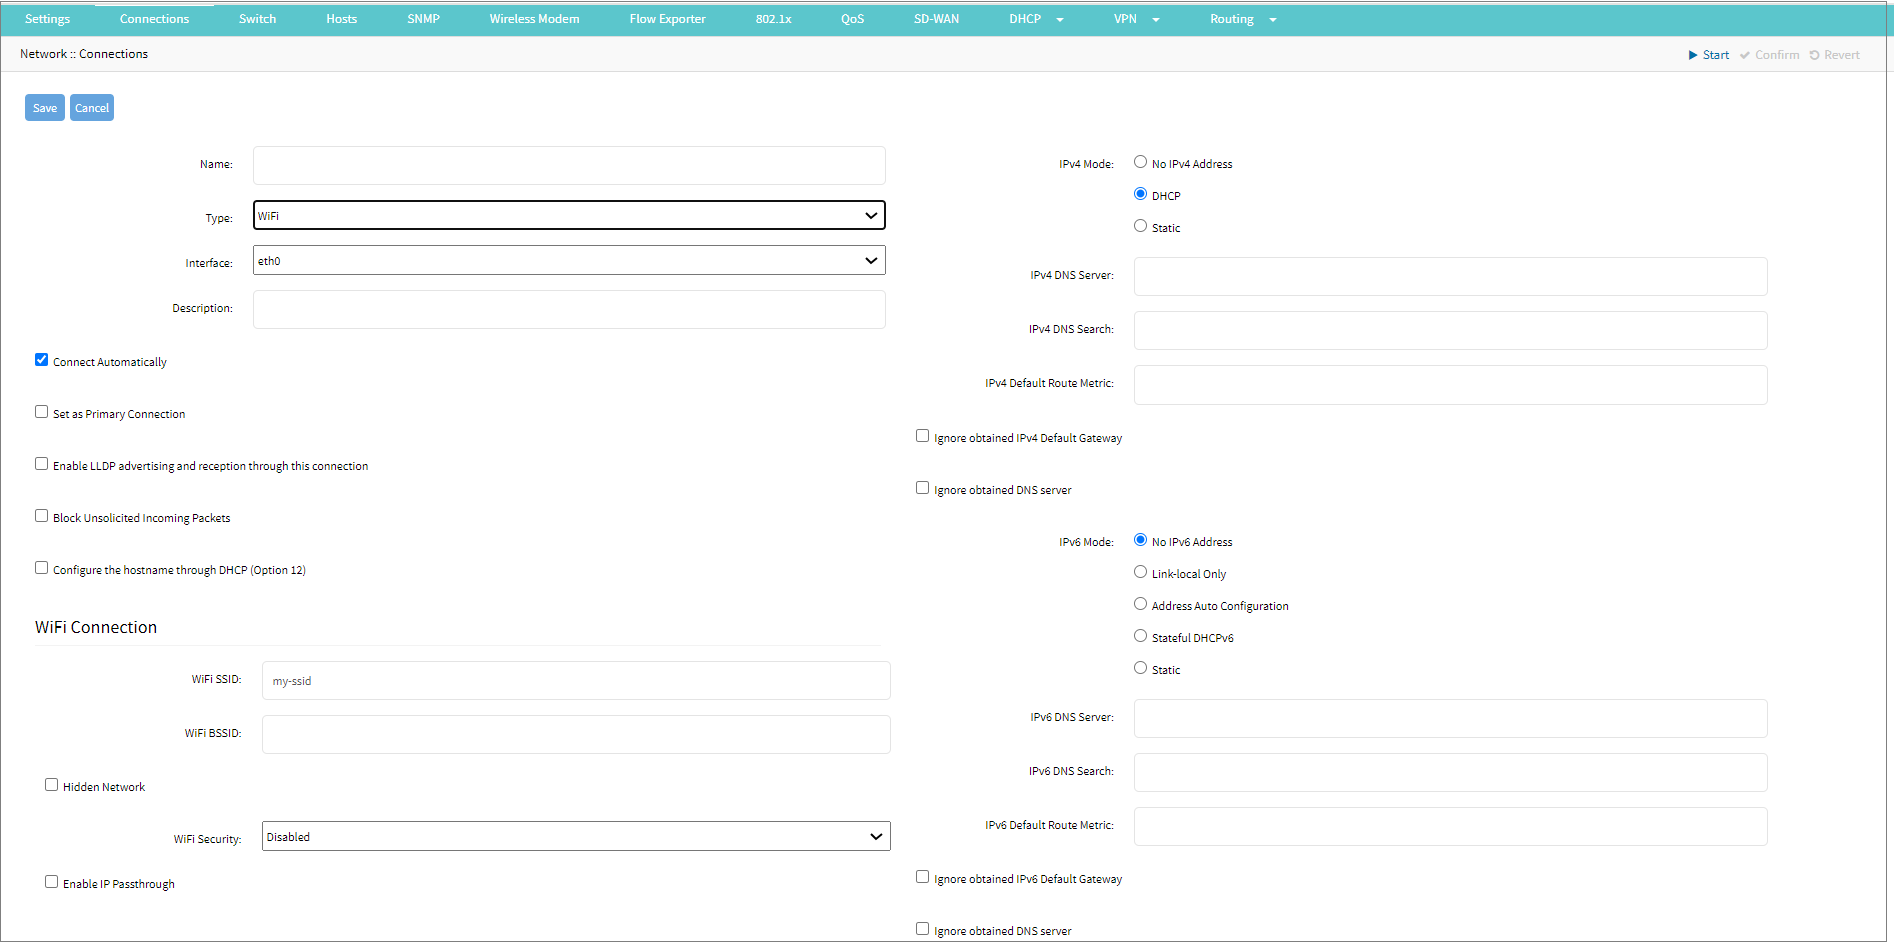
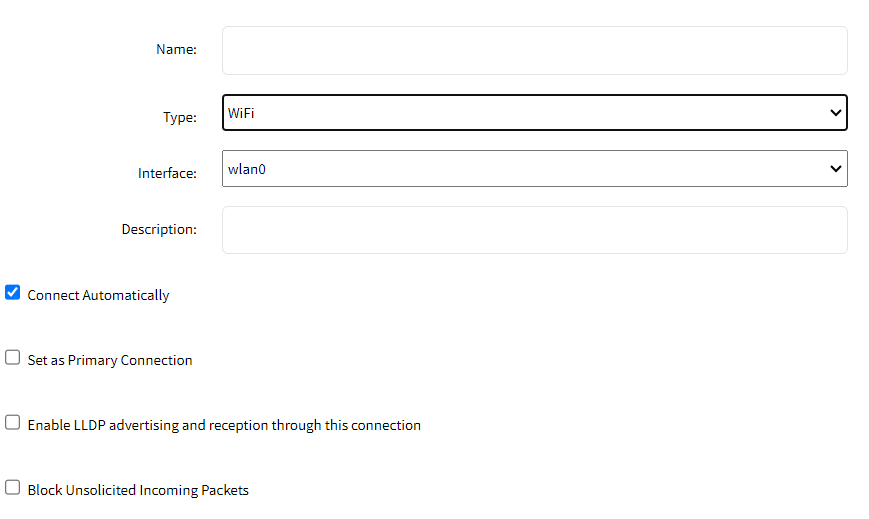
- Enter Name.
- From the Type drop-down list, select WiFi.
- Select the required Interface from the Interface drop-down list. For a WiFi connection the interface must be any wlanX interface, in case of any other selection, the system throws an error.
- Enter Description.
- Connect Automatically: Select if you want to automatically establish a connection when the system starts.
- Set as Primary Connection: Select only if you want the interface as the primary connection. Only one interface can be the primary interface.
- Enable LLDP advertising and reception through this connection: If you want to allow the network to advertise information about themselves to other devices, specify:
- Port ID: Select the required Port ID from the drop-down list.
- Port Description: Select the required port description from the drop-down list.
- Select the Block Unsolicited Incoming Packets field to block all inbound connections on the interface automatically.
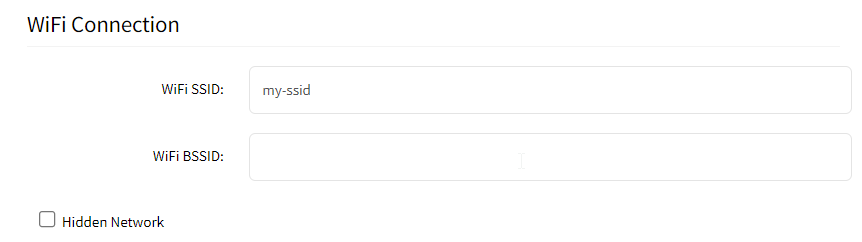
- In the WiFi Connection section, specify:
- WiFi SSID: Unique identifier for your WiFi network.
- WiFi BSSID: The MAC address of the access point or the router used to connect to the network.
- Hidden Network: Allows the user to connect to a hidden network.
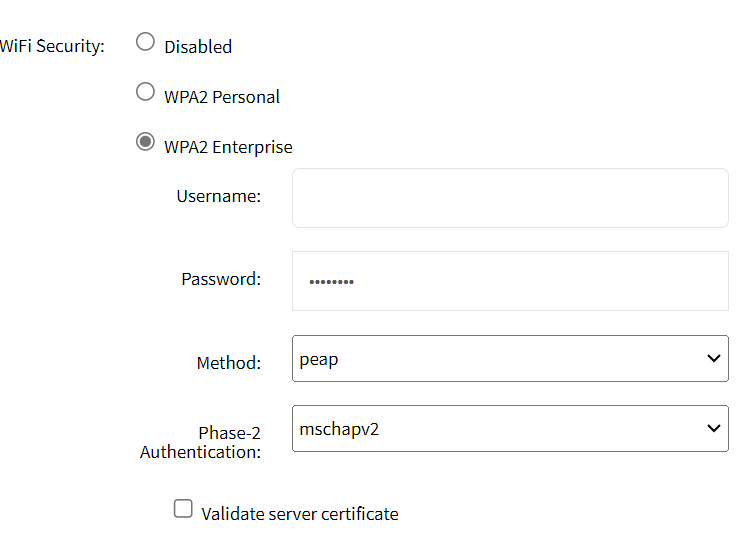
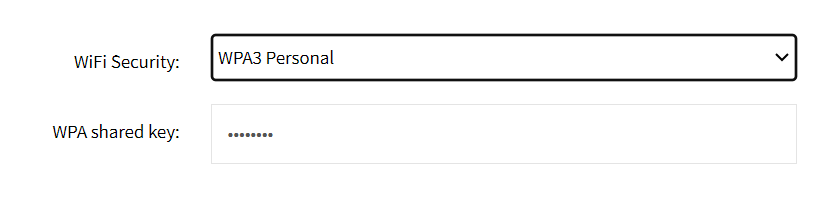
- From the WiFi Security drop-down list, select:
- Disabled: to disable the security of your WiFi hotspot network.
- WPA2 Personal: uses pre-shared keys (PSK) for authentication and a single password to connect to the network.
- Enter the WPA shared key to authenticate the user to connect to the network.

- Enter the WPA shared key to authenticate the user to connect to the network.
- WPA2 Enterprise: Offers enterprise-level security, uses IEEE 802.1X, and requires a password and phase-2 authentication. To enable, enter the following:
- Username: The username of the account.
- Password: The password to log in to the account.
- Method: Select the required Method from the drop-down list.
- Phase 2 Authentication: select the required authentication.
- Validate server certificate checkbox: Select the field to ensure that the server’s certificate is not expired
- WPA3 Personal: WPA3 is the latest security standard for WiFi networks. WPA3 offers stronger encryption and authentication, which makes it more secure for users to connect to WiFi hotspots. WPA3 Personal is preferred for personal use. To enable, specify, WPA shared key: Pass to authenticate the user to connect to the network.
- Enable IP Passthrough:
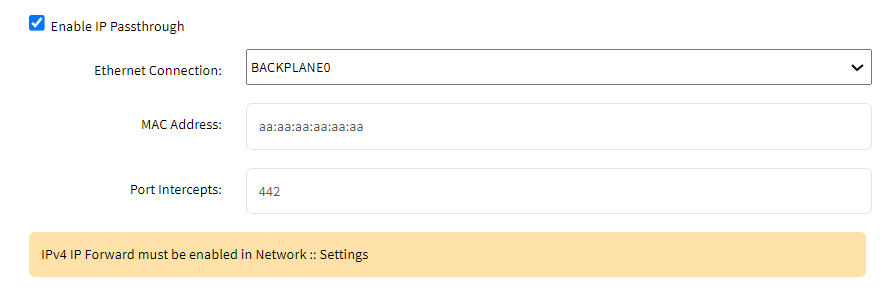
- Select the check box Enable IP Passthrough. This option enables the Nodegrid device to provide its IP address to another network device linked to the Ethernet Connection interface.
- Choose the specific type of Ethernet Connection of the Nodegrid device from the dropdown list. The available options are dynamically generated based on the type of Nodegrid device being used.
- Enter the MAC Address of the device that will receive the IP address when there is more than one network device linked to the Ethernet Connection interface sending DHCP requests.
- Specify the port numbers (HTTP, TCP port numbers etc) in the Port Intercepts field. Nodegrid will only respond to requests directed at the ports specified in this field. Any request to other ports will be routed to the network device that receives the IP address.
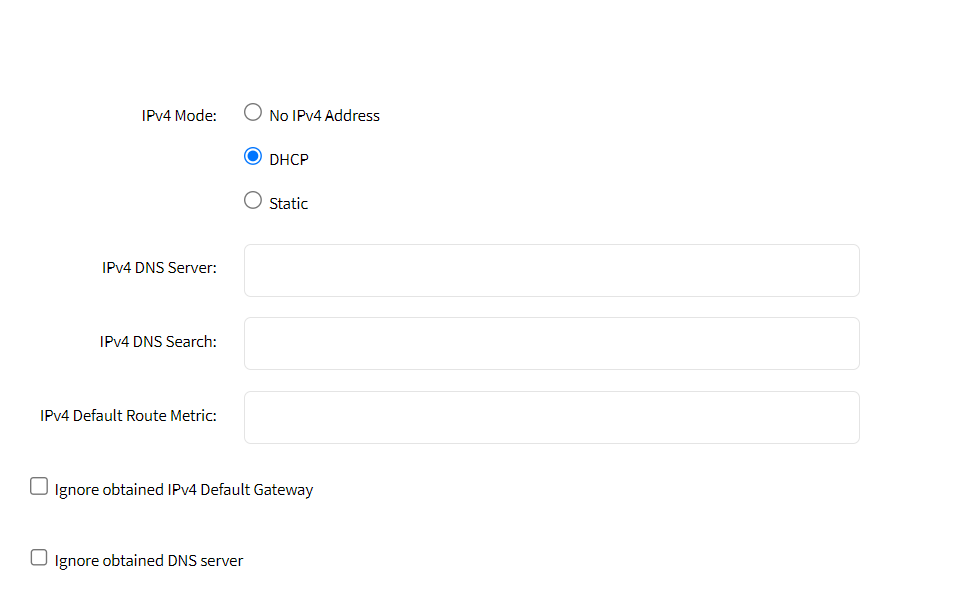
- In the IPv4 Mode section, select one of the following options:
- No IPv4 Address
- DHCP: enables network administrators to automatically assign and distribute IP addresses and other network configuration parameters to devices within a network.
- Static: If you want a specific IP to communicate with other devices, enter the following details:
- IP Address and BitMask, and, (optional) Gateway IP
- IP Address and BitMask, and, (optional) Gateway IP
- (optional) IPv4 DNS Server
- IPv4 DNS Search (defines a domain name for DNS lookups)
- IPv4 Default Route Metric
- Ignore obtained IPv4 Default Gateway checkbox
- Ignore obtained DNS server checkbox
- In the IPv6 Mode section, select one of the following:
- No IPv6 Address
- Link-local Only
- Address Auto Configuration
- Stateful DHCPv6
- if you select Static, enter IP Address, Prefix Length, and (optional) Gateway IP.
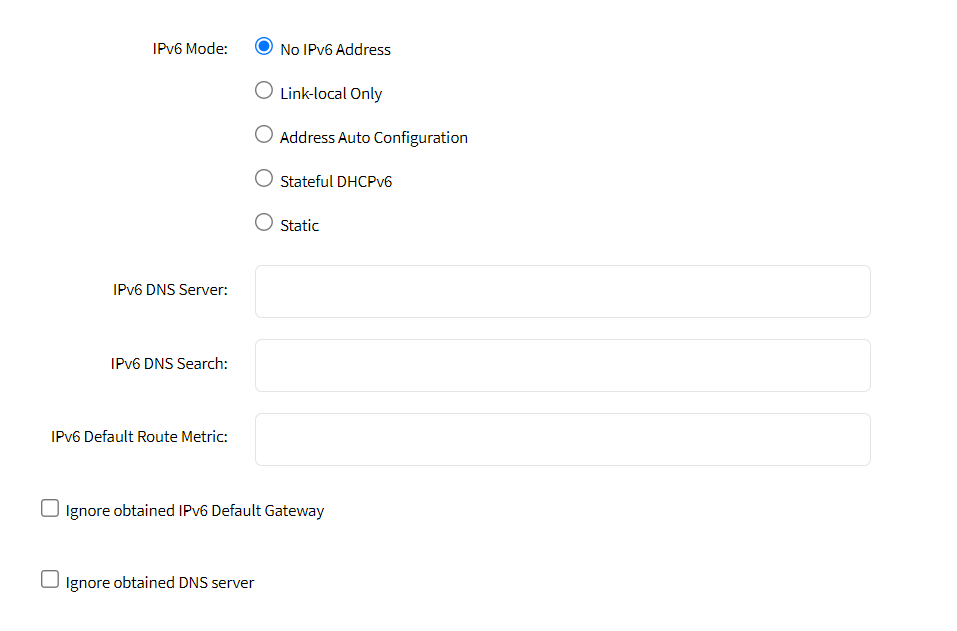
- Enter IPv6 details:
- (optional) IPv6 DNS Server
- IPv6 DNS Search (defines domain name for DNS lookups)
- IPv6 Default Route Metric
- Ignore the obtained IPv6 Default Gateway checkbox
- Ignore the obtained DNS server checkbox
- Click Save.


Was this article helpful?