Starting in v6.0.28, Nodegrid OS supports seamless virtualization of multiple Windows 11 VMs using QEMU/libvirt.
Each VM will have its own vTPM to meet Windows 11’s TPM requirements, ensuring isolation and security without interfering with Nodegrid OS features such as Secure Boot, ZPE Cloud, or SED.
While the VM can be used normally with the Virtual Machines Application after creation, its creation procedure involves access to the root shell and to the Nodegrid WebUI, as explained in this article.
System Requirements
Nodegrid device with Nodegrid OS v6.0.28+. NetSR or GateSR are recommended.
8GB+ of RAM.
A secondary disk with 80GB+ of space.
A valid Virtualization license:
[admin@nodegrid /]# cd /settings/license/
[admin@nodegrid license]# add
[admin@nodegrid {license}]# set license_key=<your-license-key>
[admin@nodegrid {license}]# commit
[admin@nodegrid license]# show
  serial_number  license_key              application        number_of_licenses  expiration date  details  peer address  type
  =============  =======================  =================  ==================  ===============  =======  ============  =================
  00000000798    xxxxx-xxxxx-xxxxx-N9ATM  docker containers  500                 2025-09-01                local         locally installed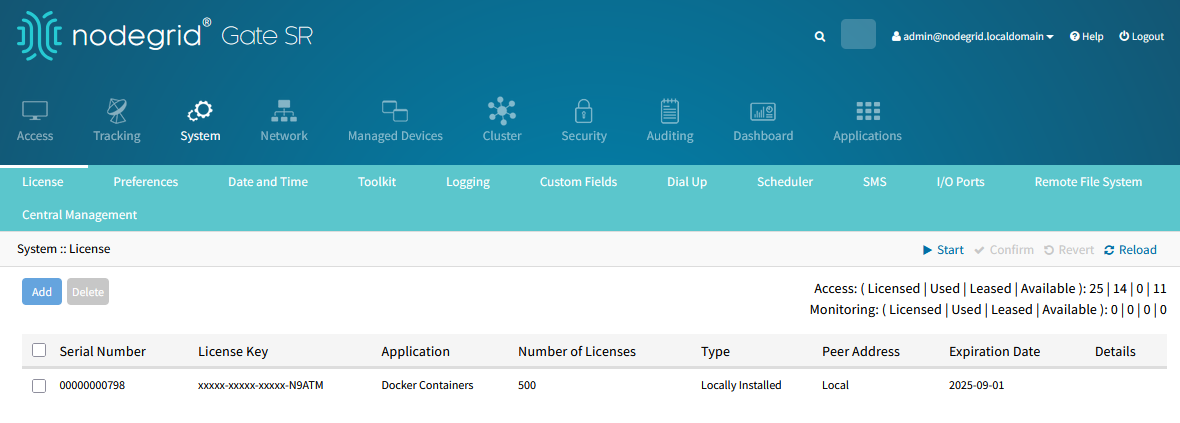
License screen with a valid Virtualization license
Enable Virtualization features
[admin@nodegrid /]# cd /settings/services/
[admin@nodegrid services]# set enable_qemu|kvm=yes
[+admin@nodegrid services]# commit
[admin@nodegrid services]#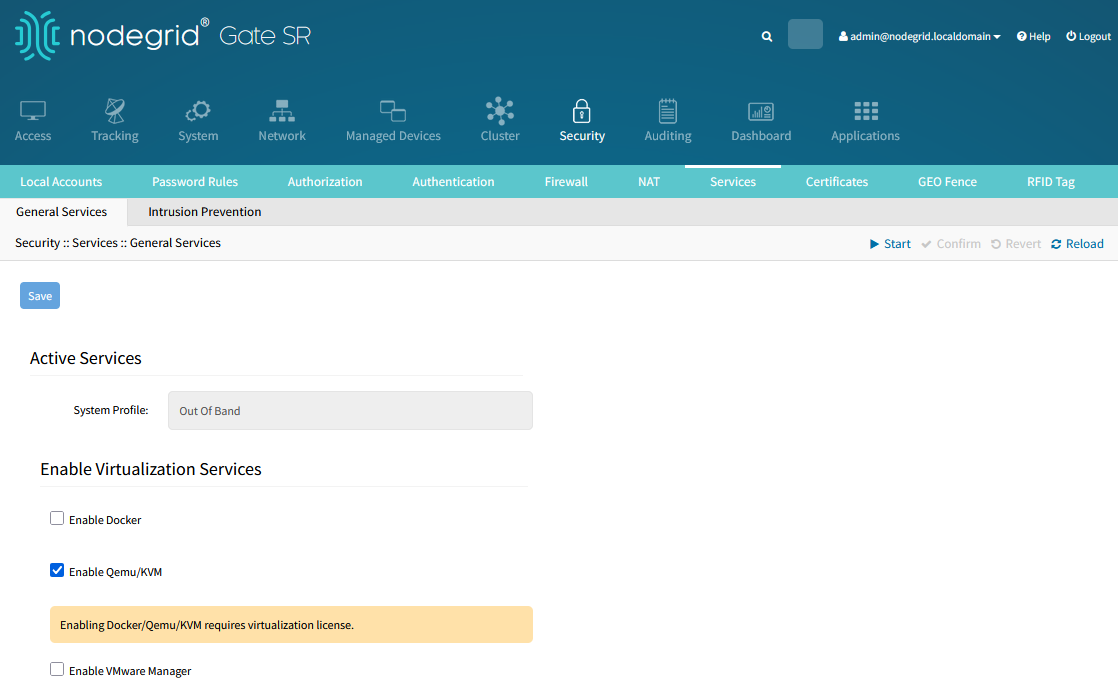
Services screen with VM service enabled
Transfer the Windows 11 iso to be installed to the Nodegrid’s filesystem. This article assumes the image is stored in a secondary disk, at /run/media/sdb1/windows11.iso. For example, upload using scp from a linux laptop:
user@linux-laptop:~$ scp windows11.iso admin@nodegrid:/run/media/sdb1/
Create a VM
To create a new VM suitable for Windows 11, go to the root shell:
user@linux-laptop:~$ ssh admin@nodegrid
[admin@nodegrid /]# shell sudo su -
You are required to change your password immediately (administrator enforced).
root@nodegrid:~#
Or through the WebUI, log in with an admin user and go to Access :: Table :: Console:
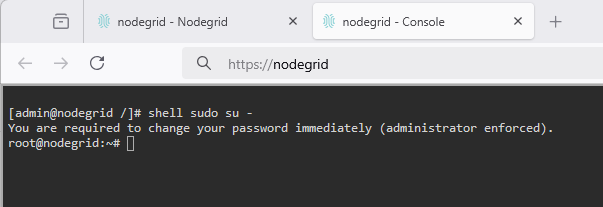
root shell accessed through web console
and execute the following commands. You can adjust the values assigned to VM_NAME, ISO, DISK, VM_DISK_SIZE_GB, and VM_RAM_SIZE_MB:
#### The values below can be adjusted ####
# Set the desired name of the new VM
VM_NAME="win11-vm"

# Set the location for the Windows 11 Installation ISO.
ISO="/run/media/sdb1/windows11.iso"

# Set the location to create the VM Storage Disk.
DISK="/run/media/sdb1/win11-disk.qcow2"

# Set the disk size reserved for the VM Disk, in GB (Windows 11 requires at least 64GB of disk).
VM_DISK_SIZE_GB="80"

# Set the RAM size reserved for the VM, in MB
VM_RAM_SIZE_MB="4096"
Then, on the same root shell session, execute the following commands:
#### The command below should be executed as-is ####
# Create the new VM
virt-install \
  --name "${VM_NAME}" \
  --memory "${VM_RAM_SIZE_MB}" \
  --vcpus 4 \
  --cpu host-passthrough \
  --os-variant win11 \
  --machine q35 \
  --boot cdrom,hd \
  --disk path="${DISK}",format=qcow2,bus=sata,size=${VM_DISK_SIZE_GB} \
  --cdrom "${ISO}" \
  --network bridge=virbr0,model=e1000e \
  --graphics vnc,listen=127.0.0.1 \
  --controller type=usb,model=qemu-xhci \
  --controller type=pci,model=pcie-root \
  --tpm backend.type=emulator,backend.version=2.0,model=tpm-crb \
  --features acpi=on,apic=on \
  --video qxl \
  --sound ich9 \
  --channel type=spicevmc,target.type=virtio,name=com.redhat.spice.0 \
  --input type=tablet,bus=usb \
  --console pty,target_type=serial
The script will create the VM and wait with the message “Waiting for the installation to complete”:
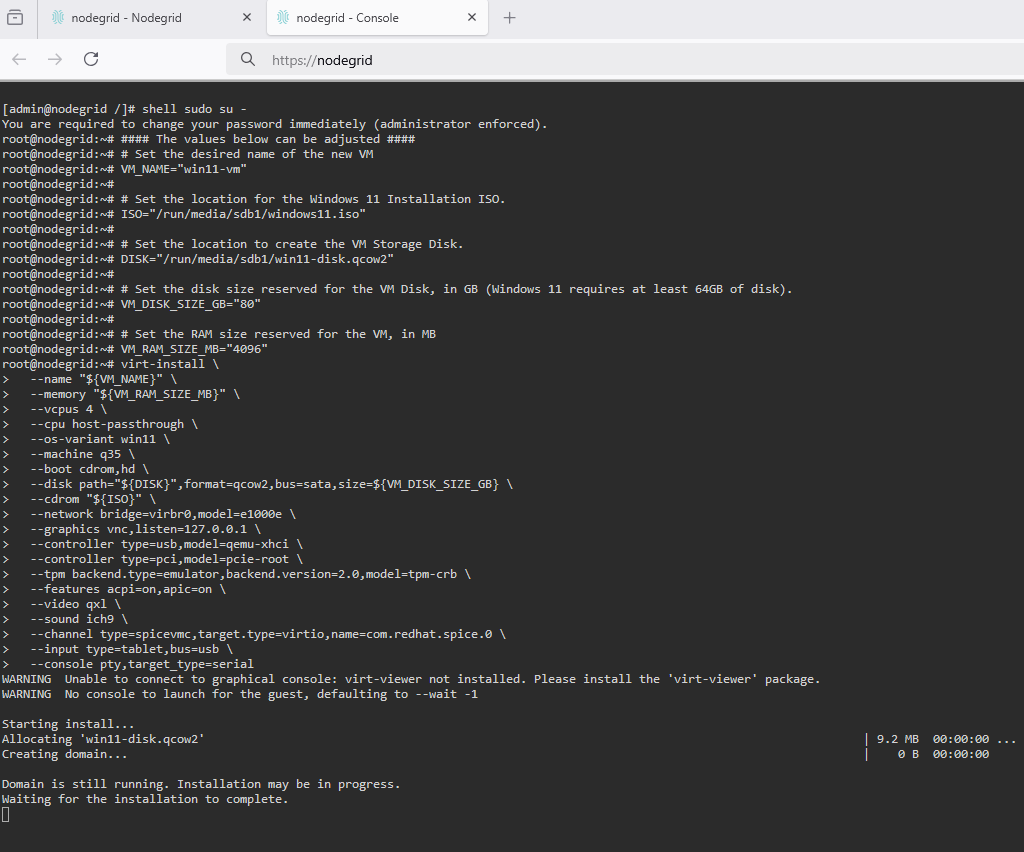
Running all the VM creation commands in root shell
Install Windows 11 on the newly created VM
To complete the installation, leave the console window open and go to “Applications :: Virtual Machines”. Click the newly created VM, in this case “win11-vm”:
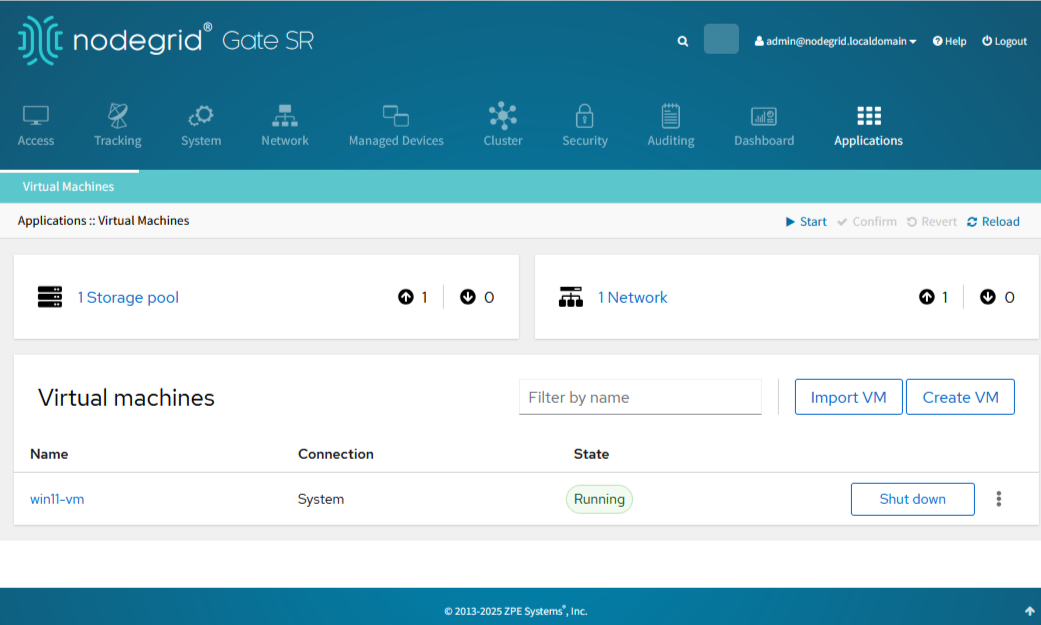
win11-vm created
The VM should be at the UEFI Interactive Shell in the VNC Console window.
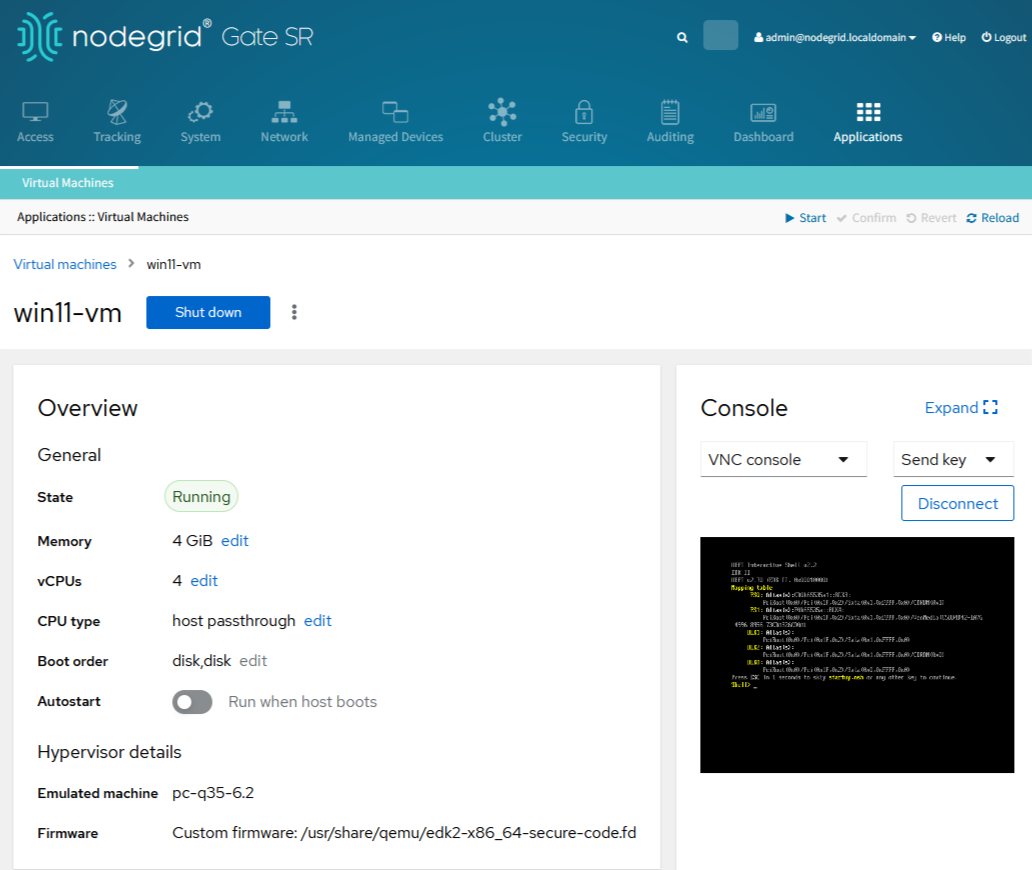
Accessing the new VM’s console
Click on the UEFI Interactive Shell on the VNC Console window, type “exit”, and press “Enter” to proceed to the next screen.
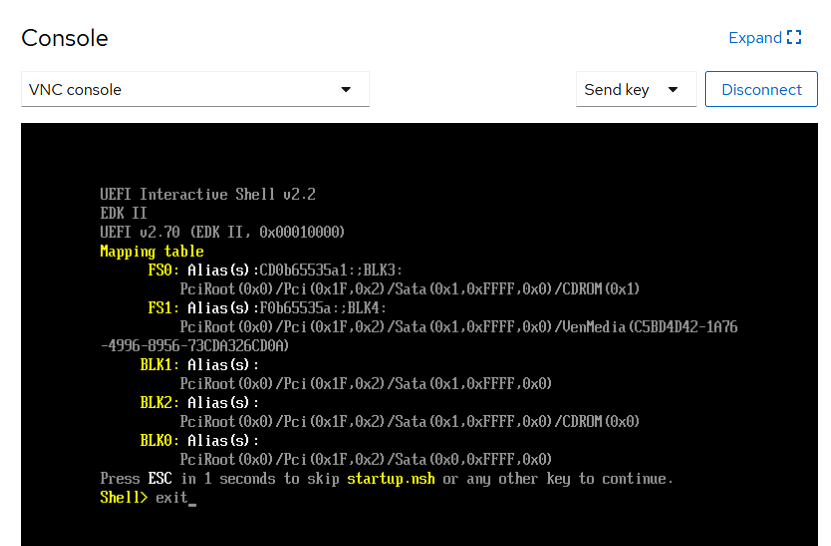
UEFI Interactive Shell exit (zoomed in)
On the following screen, press “Down arrow” to select the “Continue” option, then press “Enter” (be prepared to press “Enter” quickly again, see next step)
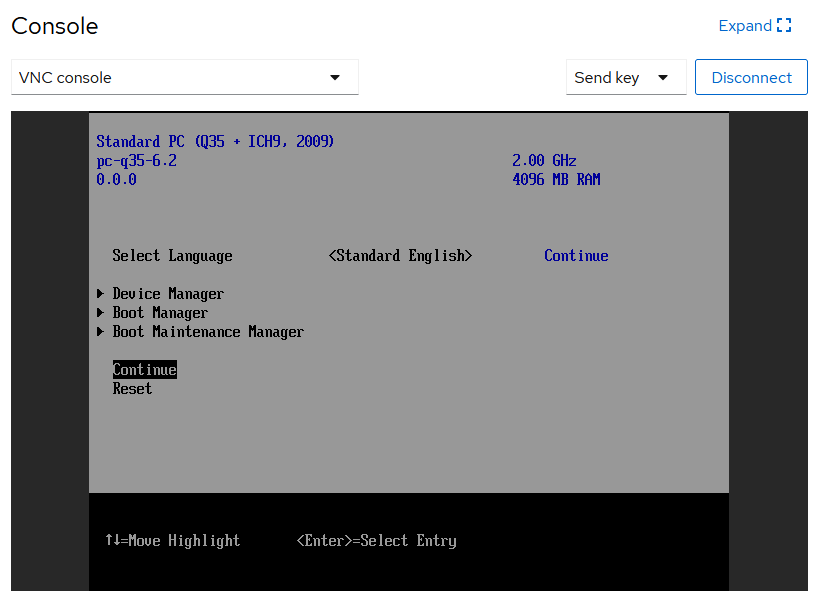
Continuing to boot
A black screen will be briefly presented with the message “Press any key to boot from CD or DVD….“. Quickly press “Enter” once to enter Windows 11 installation.
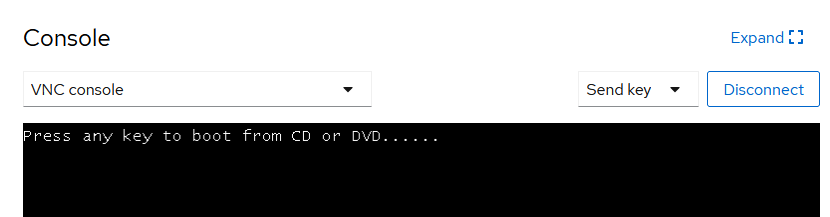
“Press any key to boot from CD or DVD”
Proceed with the installation wizard to install Windows 11.
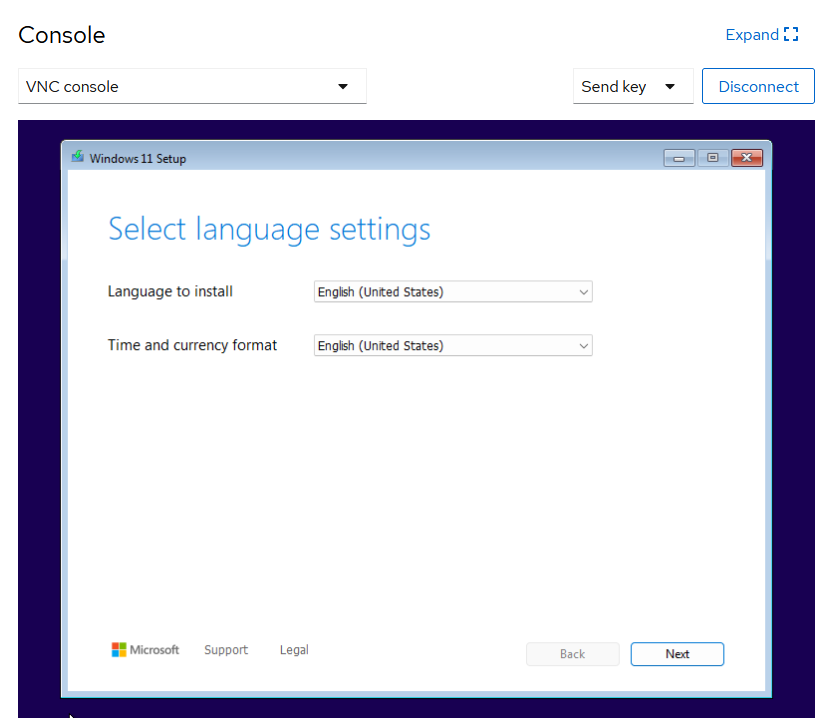
Windows 11 initial installation screen
The VM will shut down after the first phase of installation. Back in the Nodegrid console tab, the virt-install process will then end with an apparent error message. This is expected and this window can now be closed.
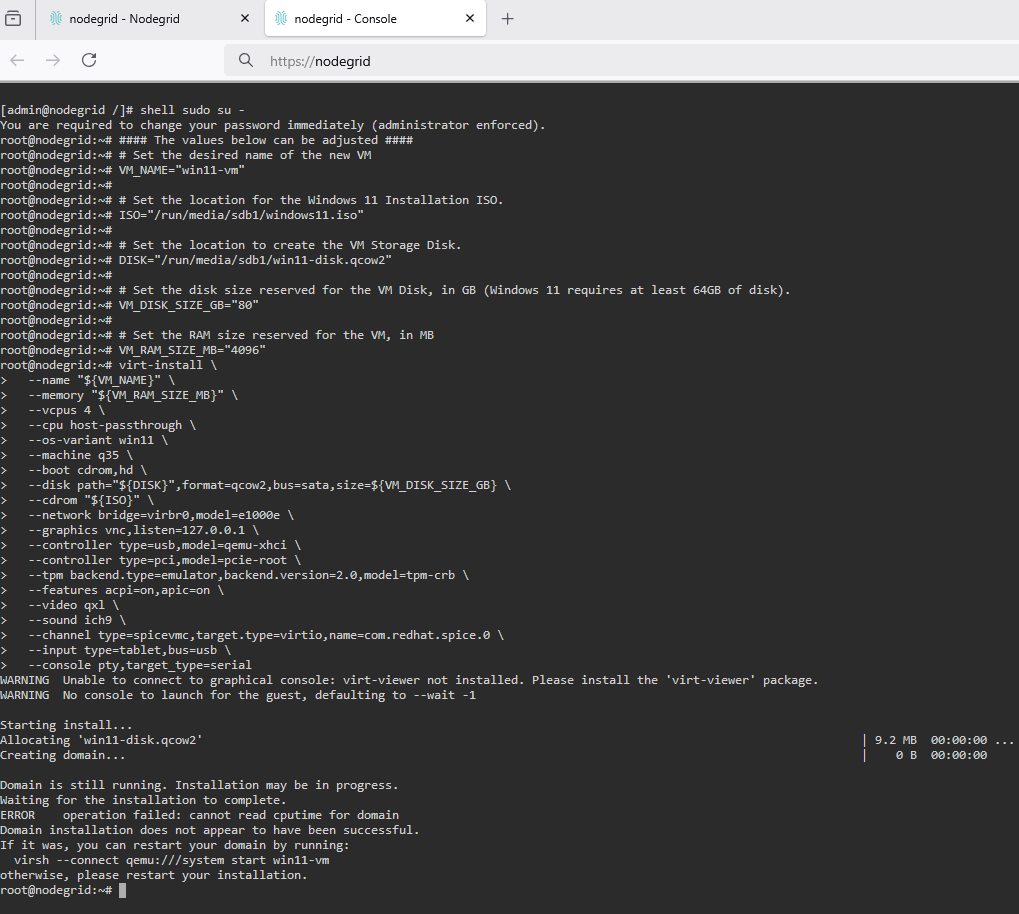
Expected termination of virt-install process
Back in the Nodegrid WebUI Virtual Machine screen, press “Run” on the blue button next to the VM name “win11-vm”. Windows 11 installation will continue and the VM will reboot a few times.
From this point on, do not boot from the CD/DVD when prompted.
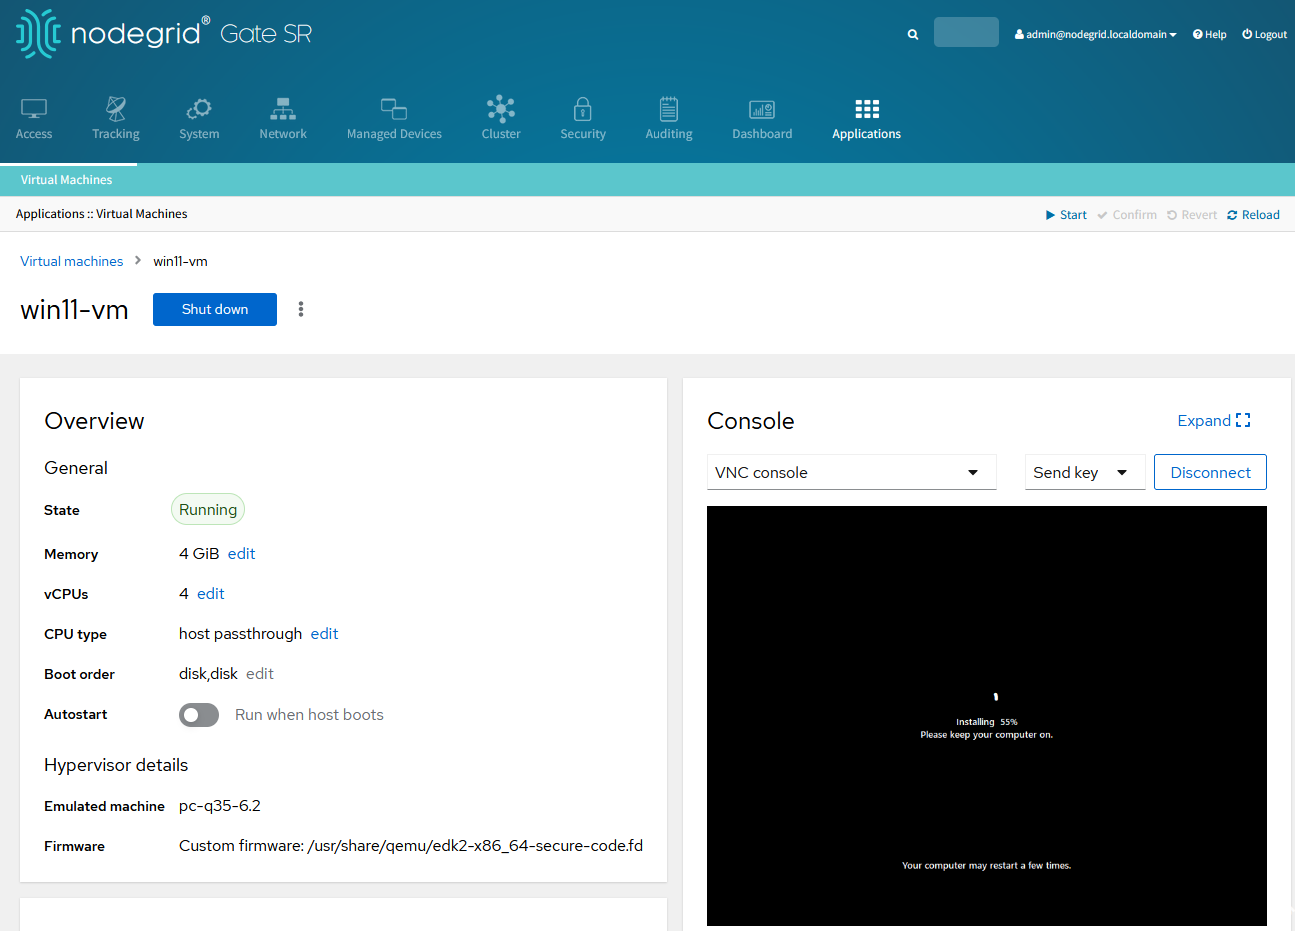
Continuing Windows 11 installation
Continue following the wizard. You will be prompted for basic configuration such as keyboard layout, and Windows will download and install updates. This might take a long time.
After Windows updates, you will be prompted for user configuration such as Microsoft account and preferences.
After completing the wizard, Windows 11 installation is done and the VM is ready to use!

Completed Windows 11 installation