With Bridge interfaces, the System can create a virtual switch that crosses one or more interfaces. The switch is completely transparent to the network interfaces and does not require additional setup. The most common use for a bridge network is easy network access for any running NFV (outside as well as the Nodegrid System). Bridge network interfaces use the same network configuration options as all Ethernet interfaces.
Go to the NETWORK::CONNECTIONS page
Click Add (displays dialog)
Enter Name
On Type drop-down, select Bridge (dialog changes)
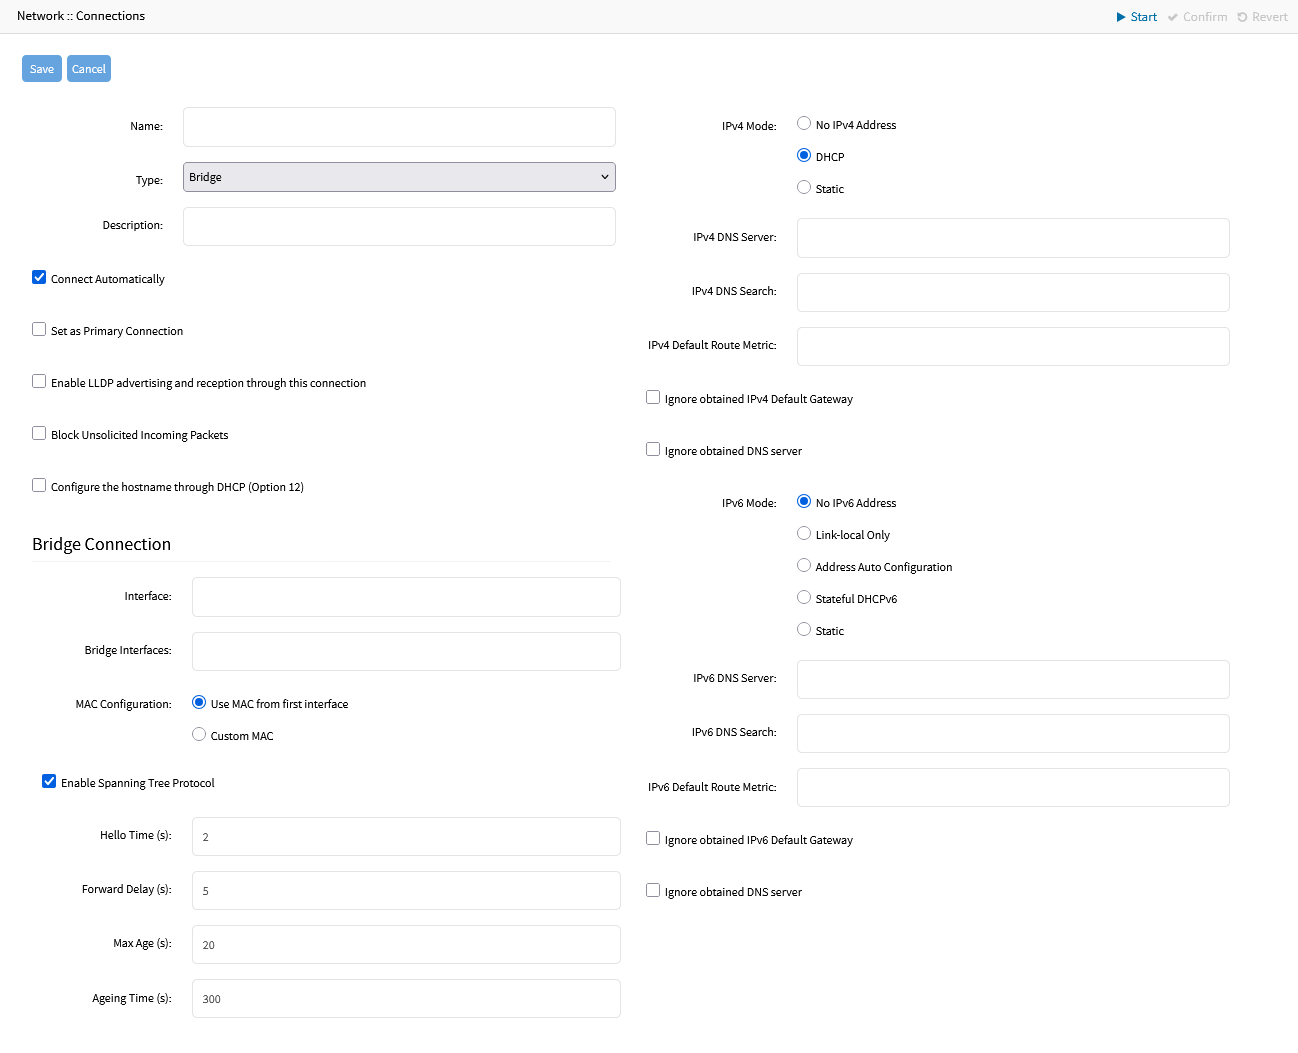
Enter Description
If Connect Automatically checkbox is selected, connection is automatically established at startup
Select Set as Primary Connection checkbox (defines interface as the primary connection. Only one interface can be the primary.)
Select Block Unsolicited Incoming Packets checkbox (automatically blocks all inbound connections on the interface)
In Bridge Connection menu, in the optional Interface field, enter the name of the bridge interface that will be created for this connection. If not entered, the interface will be called brN, where N is a number starting at 0 and automatically incremented as needed
In Bridge Connection menu, enter details:
Bridge Interfaces (list of physical interfaces, separated by commas and/or spaces)
MAC Configuration (default: Use MAC from first interface) (if selected, a text field shows where the user can enter a custom, persistent MAC address for this connection)
Enable Spanning Tree Protocol checkbox
Hello Time (s) (default: 2) (number of seconds a HELLO packet is sent when Spanning Tree is enabled)
Forward Delay (s) (default: 5) (packet forward delay. Can be set to 0 when Enable Spanning Tree Protocol is not checked)
Max Age (s) (default: 20) (maximum age for packages when Spanning Tree is enabled)
Ageing Time (s) (default: 300) (how long the bridge will keep information about a specific address in its forwarding database)
In IPv4 Mode menu, select one:
No IPv4 Address radio button
DHCP radio button
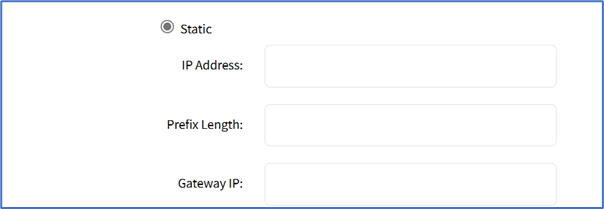
Static radio button (if selected, expands dialog). Enter IP Address, BitMask, and (optional) Gateway IP

Enter IPv4 details:
(optional) IPv4 DNS Server
IPv4 DNS Search (defines a domain name for DNS lookups)
IPv4 Default Route Metric
Ignore obtained IPv4 Default Gateway checkbox
Ignore obtained DNS server checkbox
In IPv6 Mode menu, select one:
No IPv6 Address radio button
Link local Only radio button.
Address Auto Configuration radio button
Stateful DHCPv6 radio button
If Static radio button is selected, displays menu). Enter IP Address, Prefix Length, and (optional) Gateway IP
Enter IPv6 details:
(optional) IPv6 DNS Server
IPv6 DNS Search (defines domain name for DNS lookups)
IPv6 Default Route Metric
Ignore obtained IPv6 Default Gateway checkbox
Ignore obtained DNS server checkbox
Click Save.