VRF (Virtual Routing Forward) is a technology that allows multiple instances of a routing table to co-exist within same Linux Operating System.
A VRF connection can be created to restrict network traffic going through selected interfaces to a specific routing table.
Limitations
This feature currently supports limited use cases. For example, the Linux commands ip vrf exec … can be used by processes after configuring a VRF connection.
However, the VRF configuration does not guarantee that all processes in the system will use the routing tables. For example:
Managed devices will try to establish connections looking at default VRF routes only
VPN tunnels will be running on default VRF by default
IPSec can be configured to use a different VRF to establish tunnels
Network failover is not prepared to handle a VRF slave connection
Static routes page only adds routes in default VRF
ZPE Cloud, TACACS+, LDAP, RADIUS and Kerberos can only look up routes in default VRF
Warning: Potential Loss of Access
When creating a VRF interface, do not assign a physical interface that is currently used as the device’s primary management connection (for example, eth0) unless you fully understand the impact.
Reassigning the primary interface into a VRF changes its routing context and can immediately break remote access to the device through that interface.
If the device is managed through this connection, you may lose SSH/HTTPS access and need physical or out‑of‑band access to recover.
Recommended practice:
Use a secondary interface for VRF configurations or ensure that alternative access paths (e.g., serial console, OOBM) are available before making changes.
Go to the NETWORK::CONNECTIONS page
Click Add (displays dialog)
Enter Name
On Type drop-down, select VRF (dialog changes)
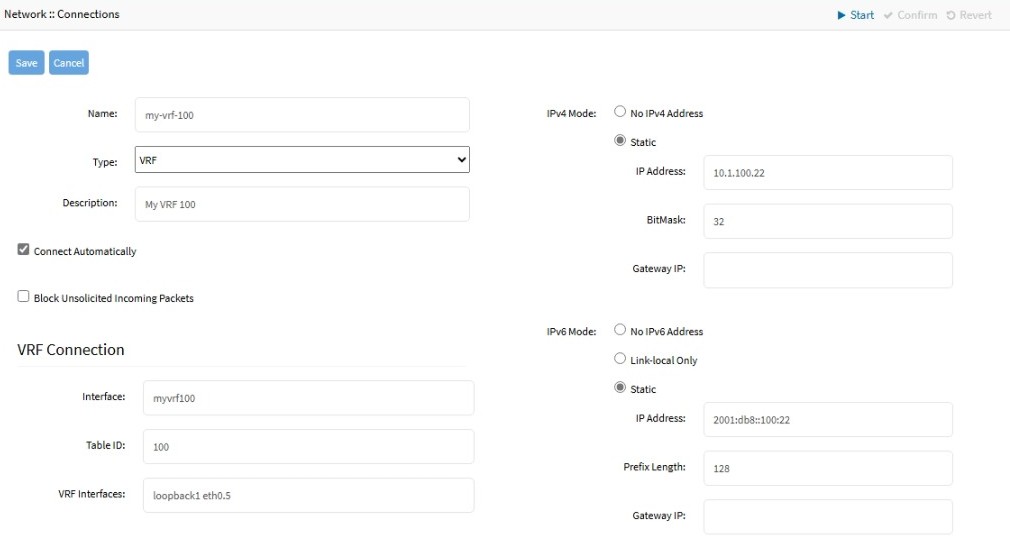
Enter Description
If the Connect Automatically checkbox is selected, the connection is automatically established at startup
If Block Unsolicited Incoming Packets checkbox is selected, firewall rules will be created to automatically block all inbound connections on the interface
In the VRF Connection menu:
Enter Interface to select the name of the new interface that will be created for this VRF. If empty, interface will be called vrfN, where N is a number starting at 0 and automatically incremented as needed
Table ID defines the identificator of the routing table associated to this VRF interface
VRF Interfaces is a space-separated list of other OS interfaces that will be slaves to the created VRF interface, having traffic respecting the specified routing table
In IPv4 Mode menu, enter details:
No IPv4 Address radio button
Static radio button (if selected, expands dialog). Enter IP Address, BitMask. and (optional) Gateway IP

(optional) IPv4 DNS Server
IPv4 DNS Search (defines a domain name for DNS lookups)
IPv4 Default Route Metric
Ignore obtained IPv4 Default Gateway checkbox
Ignore obtained DNS server checkbox
In IPv6 Mode menu, enter details:
No IPv6 Address radio button
Link local Only radio button
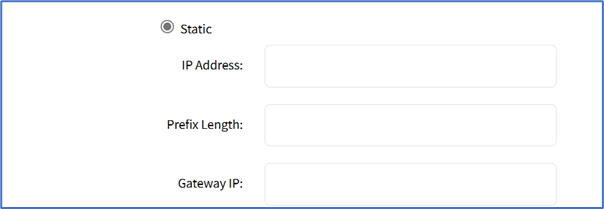
If Static radio button is selected (displays menu). Enter IP Address, Prefix Length, and (optional) Gateway IP
Click Save