Software Upgrade
Nodegrid can be updated on the WebUI or CLI.
NOTE
Software upgrade/downgrade requires several minutes to process. Be patient.
Software can be upgraded or downgraded on this procedure.
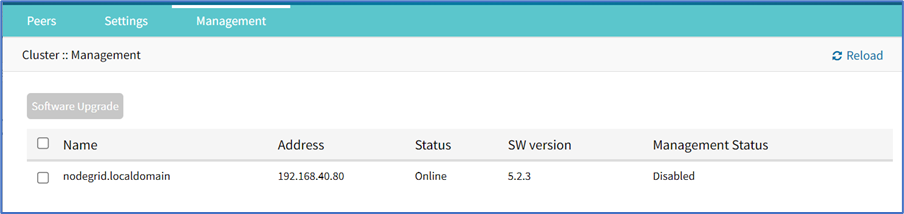
Go to Cluster :: Management.
Select checkbox next to the name for software management.
Click Upgrade Software (displays dialog).
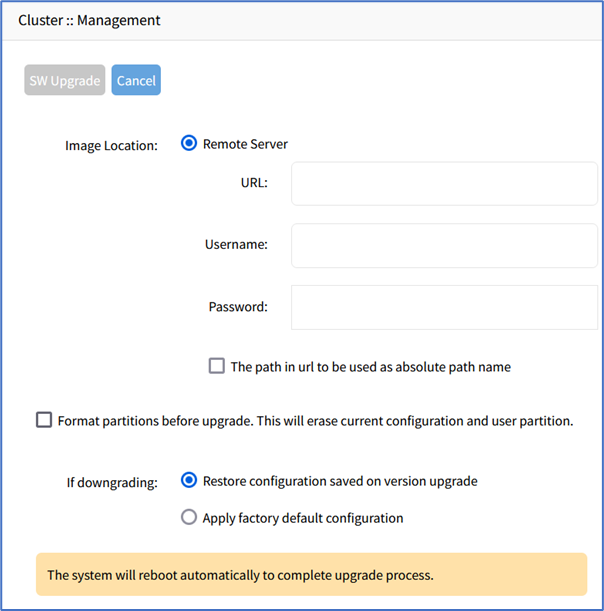
On Image Location menu, select Remote Server. To upload the software image, you need to enter the remote server URL and its credentials. The remote server can either be hosted externally or be another Nodegrid server.
Remote Server
Steps
Hosted Externally
Enter the URL of the server where the image is located. This can be an IP address, a hostname, or an FQDN.
If using an IPv6 address, enclose it in brackets [ ... ].
Supported protocols for remote file transfer include FTP, TFTP, SFTP, and SCP.
Enter the credentials of the remote server.
Nodegrid Network Boot Upgrade using second Nodegrid with HTTP file repository
Prerequisite steps:
Log into the Nodegrid device that acts as the remote server(which stores the ISO files):
Upload the file to the File Manager under the datastore folder using the datastore option. Refer to the <link to the topic Uploading Files to Datastore will be provided here> for instructions.
Go to Security :: Services :: General Services and checkbox Enable HTTP/S File Repository.
To upload the software image files:
Log into the Nodegrid device that requires upgrade.
Enter the complete path in the URL field. The path format is:
https://<Nodegrid URL>/datastore/<image.iso>.Enter the credentials of the Nodegrid server.
Example:
Nodegrid Host 1: HTTP repository which stores Nodegrid ISO files
Nodegrid Host 2: Unit to be upgraded
Nodegrid Host 1 configuration:
Transfer Nodegrid ISOs to the HTTP repository directory. You can use the Web UI or CLI.
Web UI: Upload ISO to the datastore folder in System :: Toolkit :: File Manager.
CLI:
scp Nodegrid.iso root@192.0.2.0:/var/firefox/datastore/
# OR
scp Nodegrid.iso root@192.0.2.0:/var/local/file_manager/datastore
Get the ISO from the HTTP repository:
wget https://192.0.2.0/datastore/nodegrid.iso --no-check-certificateGo to Security :: Services :: General Services.
Select the checkbox Enable HTTP/S File Repository.
Nodegrid Host 2 configuration:
You can enter the path using Web UI or CLI.
Web UI: Enter the complete path in the URL field, https://192.0.2.0/datastore/nodegrid.iso.
CLI: Setup network boot upgrade options and reboot the system to upgrade:
[admin@nodegrid /]# cd /settings/system_preferences/
set unit_ipv4_address = 192.0.2.1
set unit_netmask = 255.255.255.0
set unit_interface = eth0
set iso_url = https://192.0.2.0/datastore/nodegrid.iso
[+admin@nodegrid /]# commit
[admin@nodegrid /]# reboot
(if applicable) If downgrading menu (select one):
Restore configuration saved on version upgrade radio button
Apply factory default configuration radio button
Review details.
Click SW Upgrade.