The main table displays available tunnels. 
Add New Tunnel
Go to Network :: VPN :: IPsec :: Tunnel.
Click Add (displays dialog).
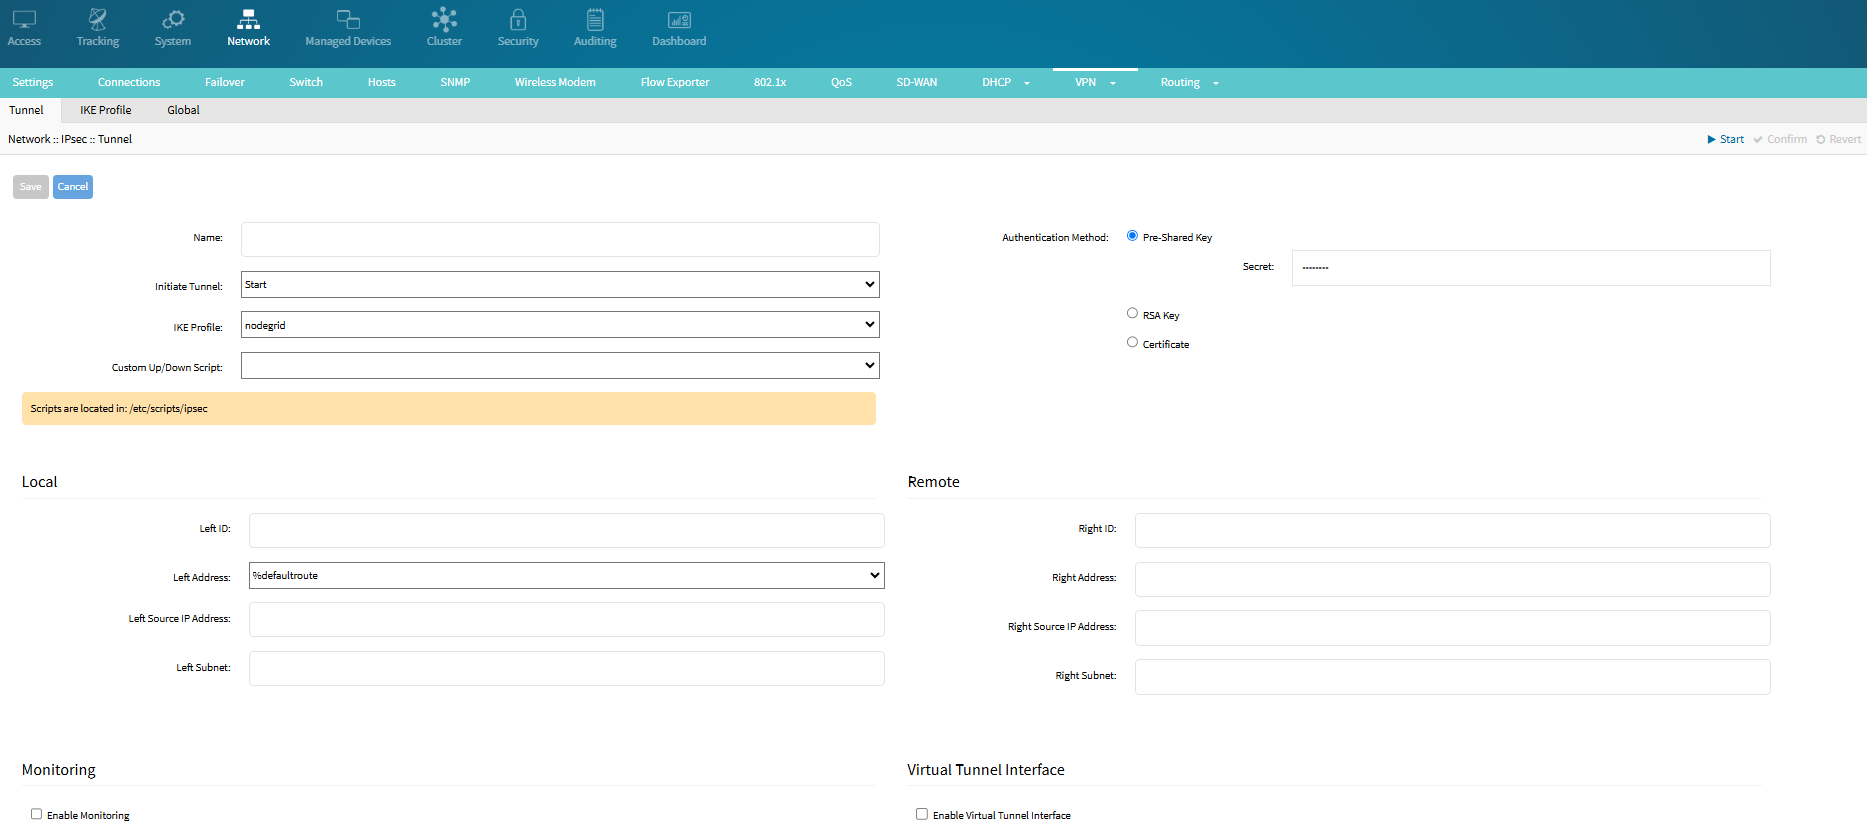
Enter Name.
On Initiate Tunnel drop-down, select one (Start, Ignore, On-Demand)
On IKE Profile drop-down, select one (Cisco_ASA, PaloAlto, nodegrid)
(optional) On Custom Up/Down Script drop-down, select one (this customized script can set configuration changes and activities, when the tunnel is up or down).
In Authentication Method menu, select either of the following options.
Pre-Shared Key radio button (expands dialog). Enter Secret.
RSA Key radio button (expands dialog):
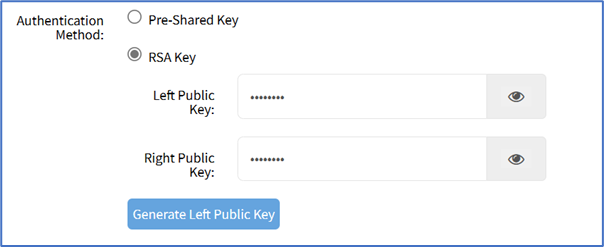
Left Public Key
Right Public Key
Generate Left Public Key
Certificate: Allows you to set up a tunnel using certificates as the authentication method. This involves using certificates configured under the Security :: Certificates page.

Left Certificate: Choose the necessary certificate for the sides that are connected to your tunnel.
Right Certificate: Select a value when you intend to establish a side-to-side configuration with up to two nodes. In cases where there are more than two nodes, you should not enter any value into this field.
In the Local menu, enter:
Left ID
Left Address drop-down, select one (selection depends on the system configuration)
Left Source IP Address
Left Subnet
In the Remote menu, enter:
Right ID
Right Address
Right Source IP Address
Right Subnet
(optional) In the Monitoring menu, select Enable Monitoring checkbox (expands dialog).
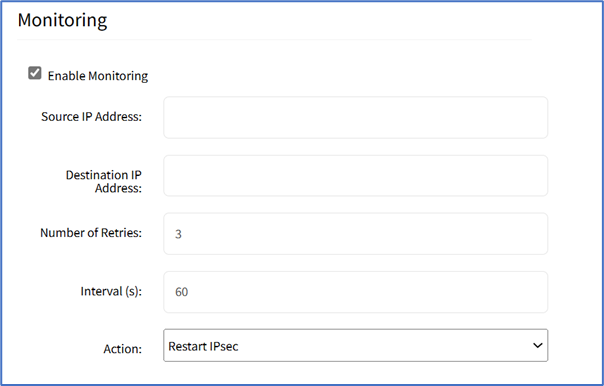
Source IP Address(ping from)
Destination IP Address (ping to)
Number of Retries (pings before triggering Action)
Interval (seconds) (time between retries)
On Action drop-down, select one (if the tunnel does not respond):
Restart IPsec (to resolve issues with key negotiation)
Restart Tunnel (to resolve issues with key negotiation)
Failover (fails over to another IPsec tunnel) (expands dialog). On IPsec Tunnel drop-down, select one.

(optional) In Virtual Tunnel Interface menu, select Enable Virtual Tunnel
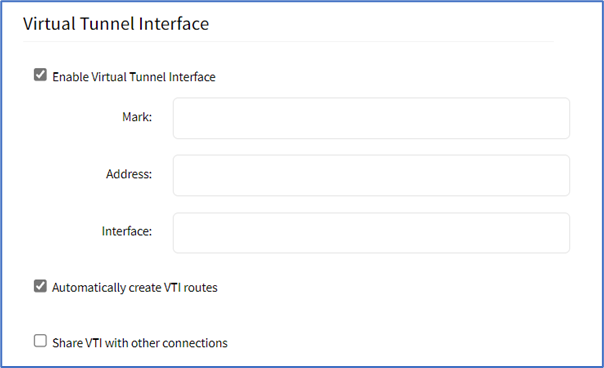
Interface checkbox (expands dialog), enter details:
Mark
Address
Interface
Automatically create VTI routes checkbox
Share VTI with other connections checkbox
Click Save.
Edit Tunnel
Go to Network :: VPN drop-down :: IPsec :: Tunnel.
In the Name column, click a name (displays dialog).
Make changes, as needed.
Click Save.
Delete Tunnel
Go to Network :: VPN drop-down :: IPsec :: Tunnel.
In the table, select checkbox of tunnel to delete.
Click Delete.
Start Tunnel
Go to Network :: VPN drop-down :: IPsec :: Tunnel.
In the table, select checkbox of tunnel to start.
Click Start Tunnel.
Stop Tunnel
Go to Network :: VPN drop-down :: IPsec :: Tunnel.
In the table, select checkbox of tunnel to stop.
Click Stop Tunnel.