On this page, an admin can create and manage a device-based tree structure. This can be configured for specific organizational or physical structure layouts. Groups may also be used to aggregate monitoring values like a rack or room level.
Trees Sub-tab
This displays the tree structure. On first opening, the root locations are shown.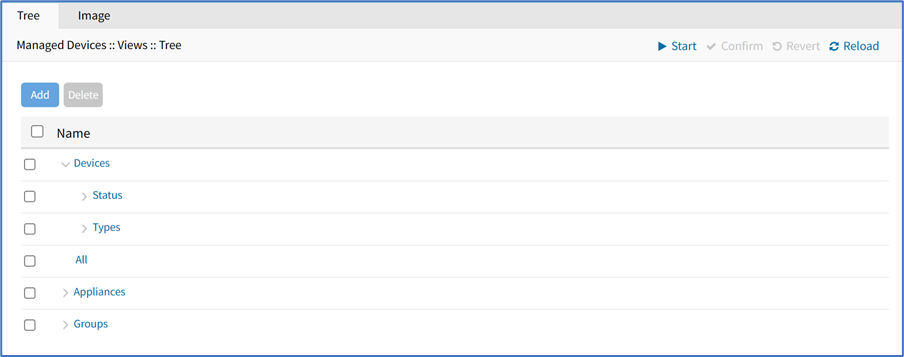
View Tree Branches
Click the right arrow
 icon to display the next branch level.
If further branch levels are available, expand the branch.
To contract the branch, click the down arrow icon.
Add a Branch Item
Go to Managed Devices :: Views :: Tree.
Click Add (displays dialog).
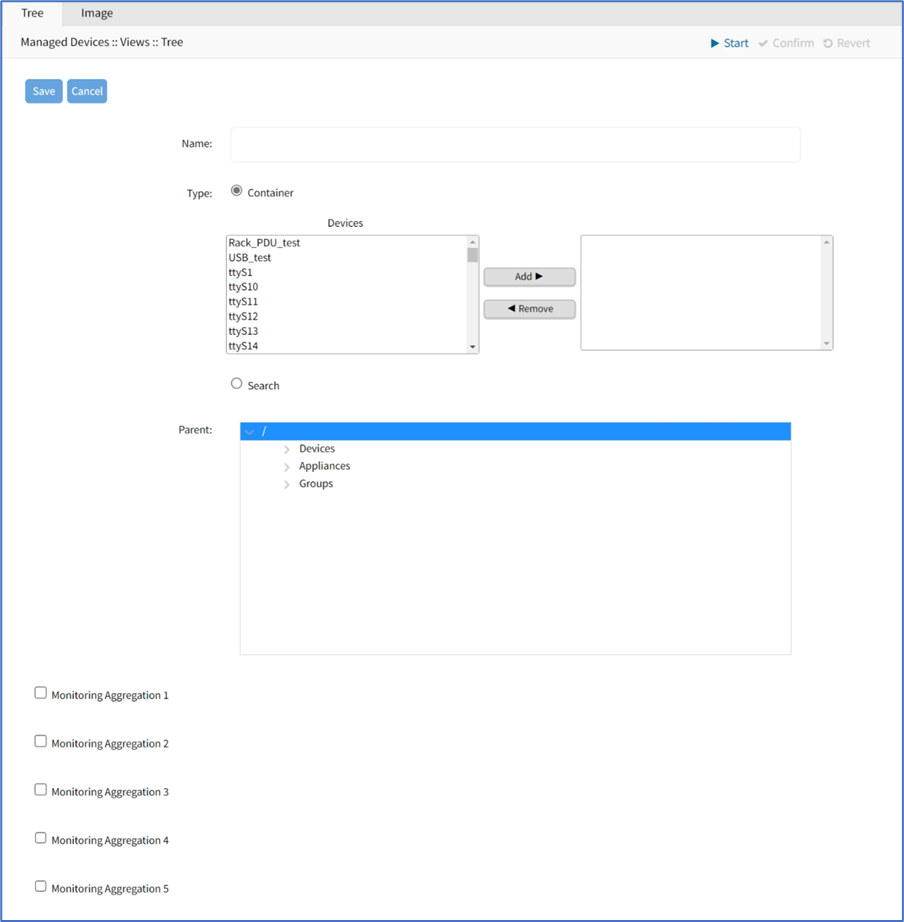
Enter Name.
In Type menu, select one:
Container radio button. In Devices panel, select from left-side panel, click Add► to move to right-side panel. To remove from right-side panel, select, and click ◄Remove.
Search radio button (expands dialog). Enter Query to locate and select.

To select a Parent, click on the solid bar, expand the tree to locate the parent for this addition.

Select Monitoring Aggregation checkbox (expands dialog).
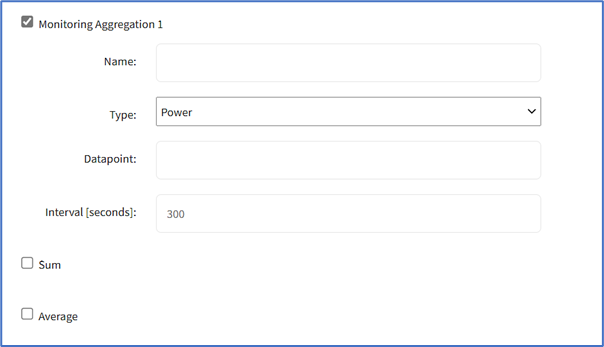
Enter Name.
On Type drop-down, select one (Power, Apparent Power, Power Factor, Current, Voltage, Frequency, Temperature, Humidity, Fan Speed, Time Left, Counter, Percent).
Enter Datapoint.
Set Interval (seconds) (default: 300).
Select Sum checkbox.
Select Average checkbox.
(as needed) Repeat for other Aggregations.
When done, click Save.
Delete a Branch Item
Go to Managed Devices :: Views :: Tree.
Expand tree to locate item.
Select checkbox.
Click Delete.
On confirmation dialog, click OK.
Image Sub-Tab
Available images are shown on this page. 
Add Image
Go to Managed Devices :: Views :: Image.
Click Add (displays dialog).
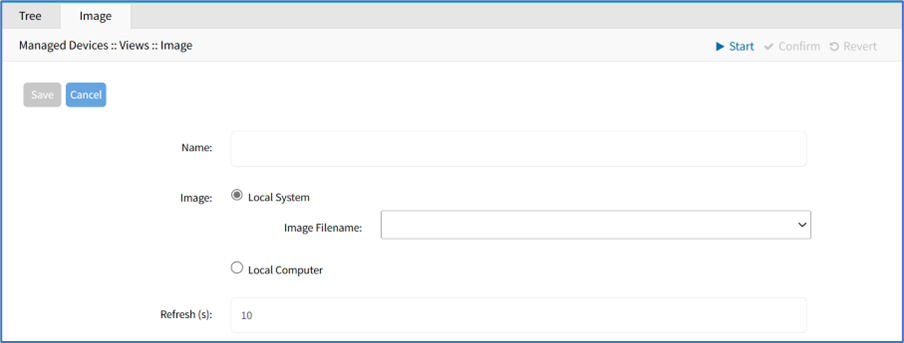
Enter Name.
In Image menu, select one:
Local System radio button, select from the Image Filename drop-down.

Local Computer radio button. Click Choose File, then locate and select the graphic file.

In Refresh, enter value (seconds).
Click Save.
Add Image Property Details
Go to Managed Devices :: Views :: Image.
Click on an image (displays dialog).
Right-click on the image (displays properties dialog).
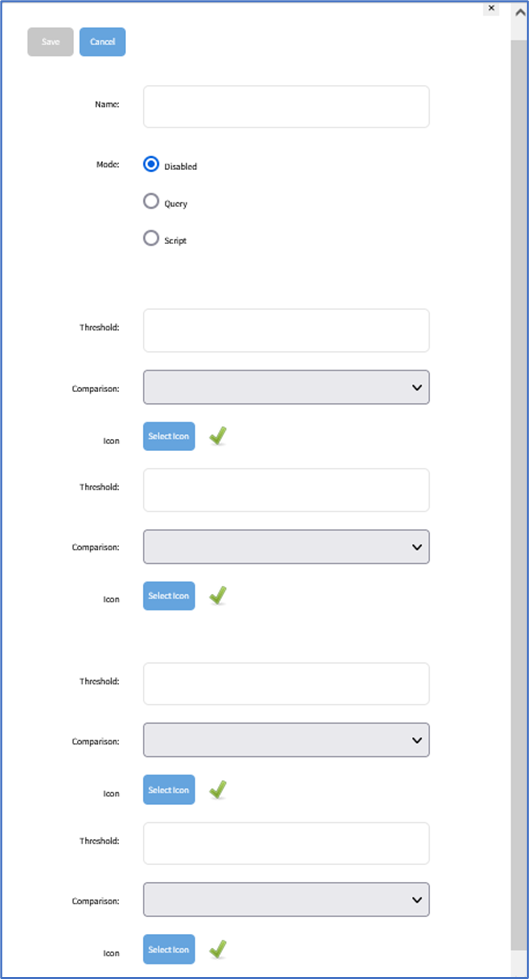
Enter Name.
In Mode menu, select one:
Disabled radio button (dialog expands).

Query radio button (dialog expands). Enter Query. Enter Field.

Script radio button (dialog expands). On Script drop-down, select one.

In Threshold menu, enter details:
Enter Threshold value.
On Comparison drop-down select one.
On Icon, select from the pop-up dialog.
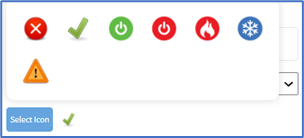
(as needed) Enter details for another Threshold (up to 4).
Click Save.