To use ZPE Cloud, customers must create an account first. Each account comes with a 90-day trial license.
NOTE
Each Company can have one ZPE Cloud account. Before creating another account, please check with your Company Admin.
ZPE Cloud Account Creation
To request access to ZPE Cloud application:
In the browser, enter URL:
https://www.zpecloud.com/signup
https://www.zpecloud.eu/signup (if your location is in European Union)
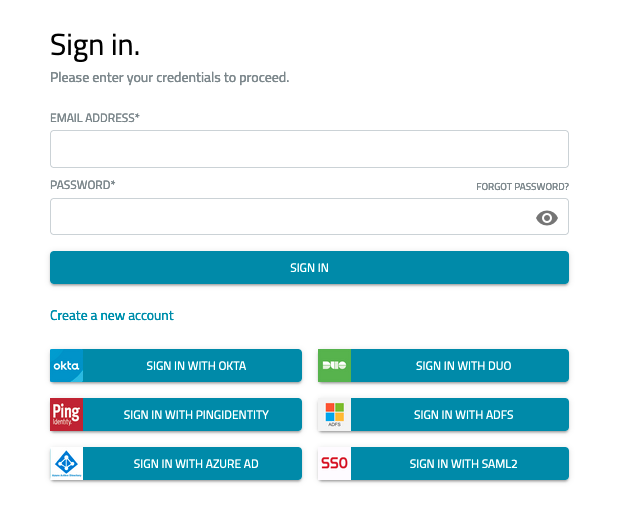
Click Create a new account (displays dialog)
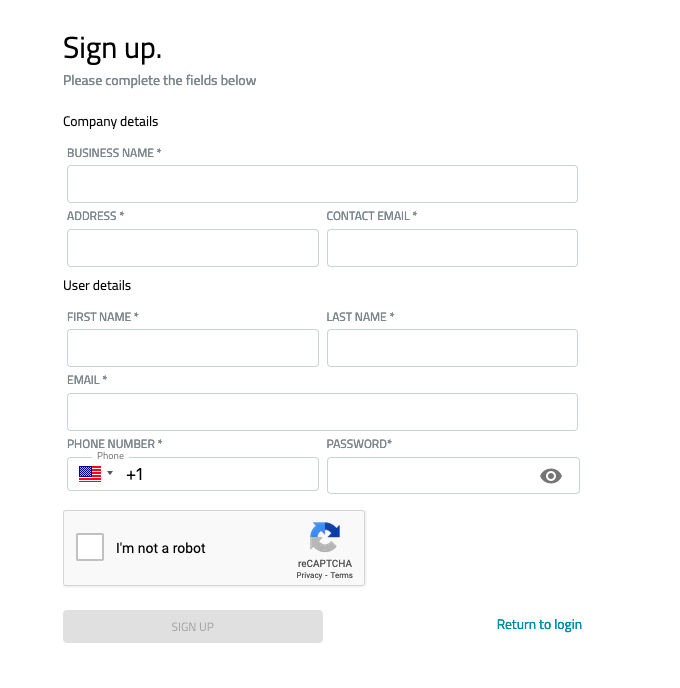
Enter details in the form.
Select I’m not a robot checkbox.
Click SIGN UP.
The ZPE account team will review the request and approve the account creation.
When approved, a verification email is sent to the account email. Follow the instructions.
Prepare Cloud Account
After the ZPE cloud account is created, it is recommended to perform the following steps to prepare the environment for this use case.
Define a session timeout for the cloud account:
a. Default timeout is 5 minutes (300 sec). To adjust the value, click on the username in the top-right corner and on Account Details.
b. Click on EDIT and adjust the time value.
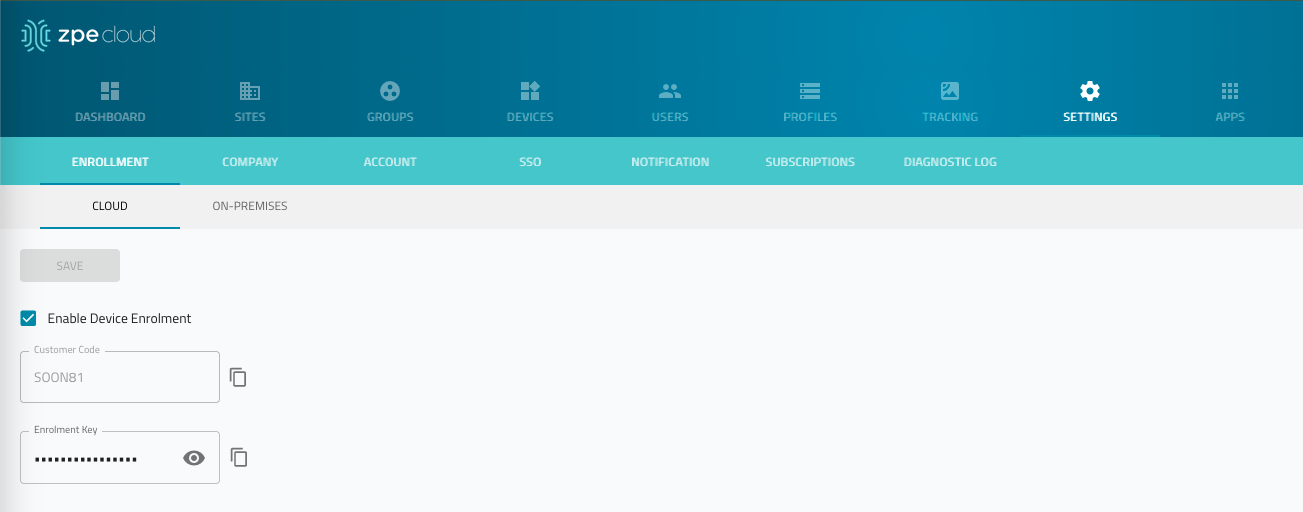
c. Click SAVEGo to SETTINGS :: ENROLLMENT and select Enable Device Enrolment checkbox.
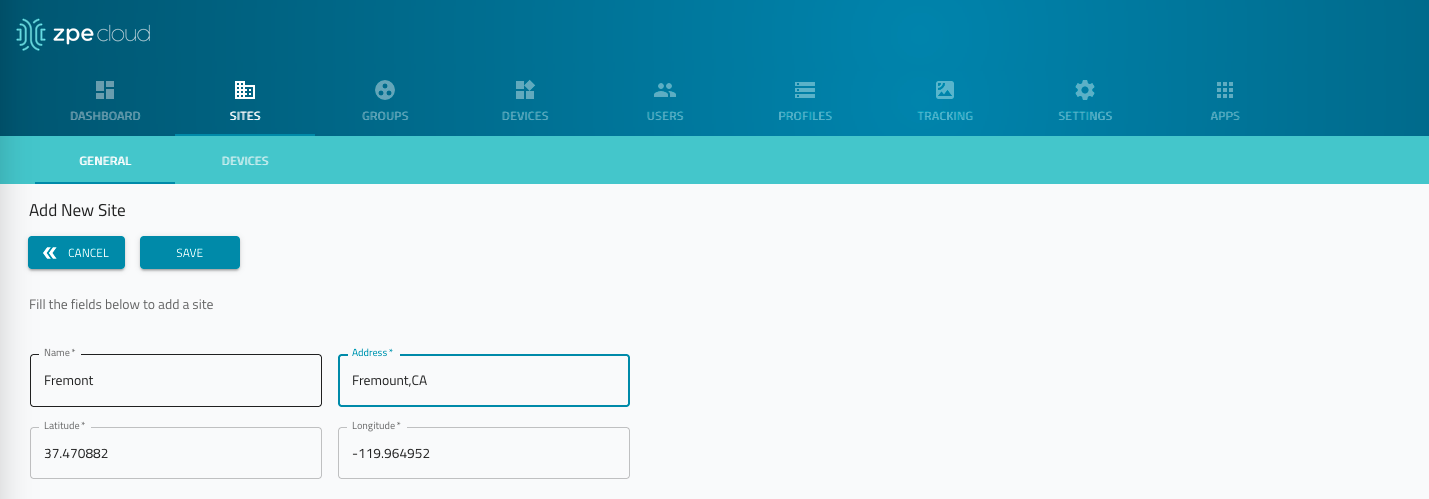
Create a Site for the device. Sites allow users to identify locations, associated devices and current status on Dashboard:
To create a new SIte, go to SITES and click ADD
Claim device by Claim ID
Before use, a device must be associated with an account. This can be completed with a Claim ID or as part of the sales process.
WARNING
A device can only be claimed once. If an error occurs, contact support@zpesystems.com
Go to DEVICES :: AVAILABLE.
Click ADD BY CLAIM ID (displays dialog).
Enter the Claim ID.
Click SAVE (displays success pop-up dialog).
NOTE
If the Claim ID is incorrect, an error message is displayed, asking to contact Support (support@zpesystems.com)
Locate the device, select the checkbox, and click ENROLL.
The device is now enrolled in ZPE Cloud and can be managed through it.