To perform these procedures, log into the Nodegrid Device.
Access sub-tab
- Go to Managed Devices :: Devices :: SignalTower_Alarm :: Access.
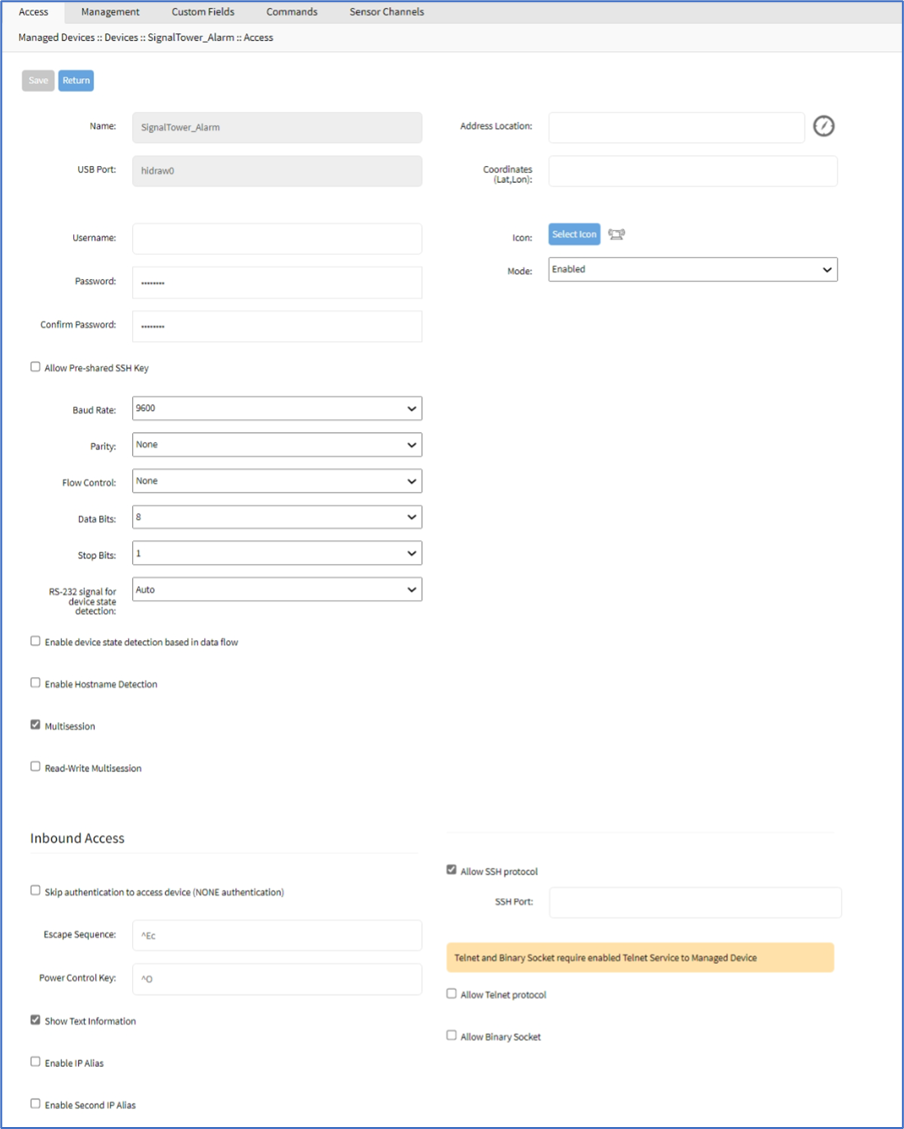
- As needed (many of these are optional):
- Enter Username.
- Enter Password and Confirm Password.
- Enter Address Location.
- Enter Coordinates (Lat,Lon).
- Click Icon (on pop-up, select the preferred icon).
- On Mode drop-down, select one (Enabled, On-demand, Disabled, Discovered).
- Select Allow Pre-shared SSH Key checkbox.
- On Baud Rate drop-down, select one (Auto, 9600, 19200, 38400, 57600, 115200, 230400, 921600).
On Parity drop-down, select one (None, Even, Odd).
On Flow Control drop-down, select one (None, Software, Hardware).
On Data Bits drop-down, select one (5, 6, 7, 8, Auto).
On Stop Bits drop-down, select one (1, 2).
On RS-232 signal for device state detection drop-down, select one (Auto, DCD, CTS, None). - Select Enable device state detection based on data flow checkbox.
If selected, enter Data flow scan interval (s). - Select Enable Hostname Detection checkbox.
- Select Multisession checkbox.
- On Inbound Access menu:
- Select Skip authentication to access device (NONE authentication) checkbox.
If selected, select checkboxes, as needed:
Skip in SSH sessions checkbox
Skip in Telnet sessions checkbox
Skip in Raw sessions checkbox
Skip in Web sessions checkbox - Enter Escape Sequence (default: ^Ec).
- Enter Power Control Key (default: ^O).
- Select Show Text Information checkbox.
- Select Enable IP Alias checkbox (extends dialog).
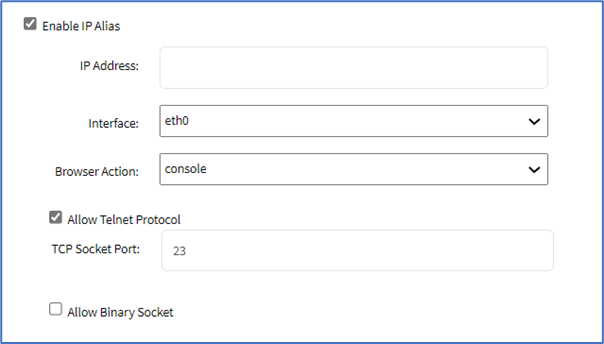 Enter IP Address.
On Interface drop-down, select one.
On Browser Action drop-down, select one.
Select Allow Telnet Protocol checkbox. Enter TCP Socket Port (default: 23). - Select Enable second IP Alias checkbox (repeats above)
- Select Allow SSH Protocol checkbox (extends dialog). Enter SSH Port.

- Select Allow Telnet protocol checkbox (extends dialog). Enter Telnet Port.

- Select Allow Binary Socket checkbox (extends dialog). Enter TCP Socket Port.

- Select Skip authentication to access device (NONE authentication) checkbox.
- Click Save.
Management sub-tab
- Go to Managed Devices :: Devices :: SignalTower_Alarm :: Management.
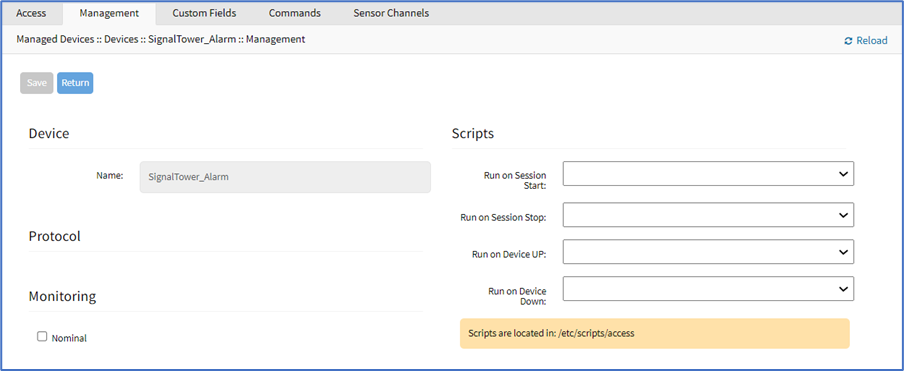
- In the Monitoring menu, select Nominal checkbox (expands dialog).
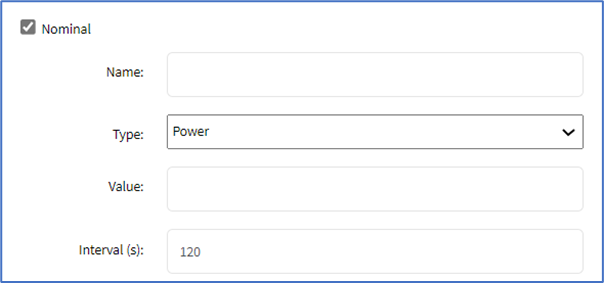
- Enter Name.
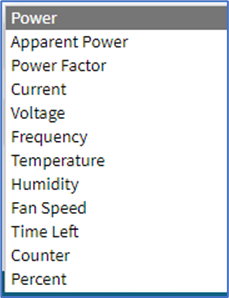
- On Type drop-down, select one.
- Enter Value.
- Enter Interval (s).
- In the Scripts menu (if scripts are available):
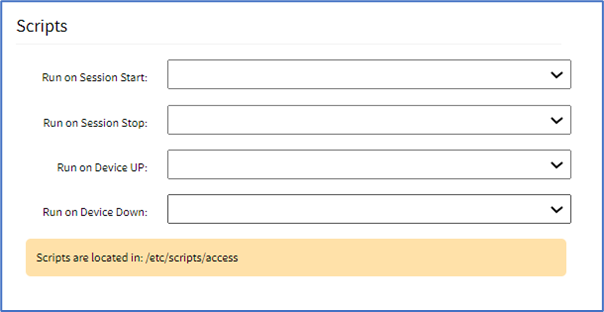
- On Run on Session Start drop-down, select a script.
- On Run on Session Stop drop-down, select a script.
- On Run on Device UP drop-down, select a script.
- On Run on Device Down drop-down, select a script.
- Click Save.
Custom Fields sub-tab
- Go to Managed Devices :: Devices :: SignalTower_Alarm :: Custom Fields.
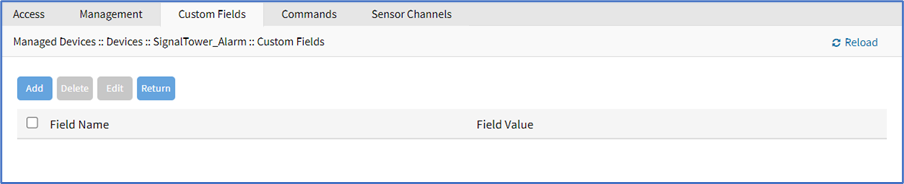
- To create a custom field, click Add (display’s dialog).
- Enter Field Name.
- Enter Field Value.
- Click Save.
Commands sub-tab
- Go to Managed Devices :: Devices :: SignalTower_Alarm :: Commands.
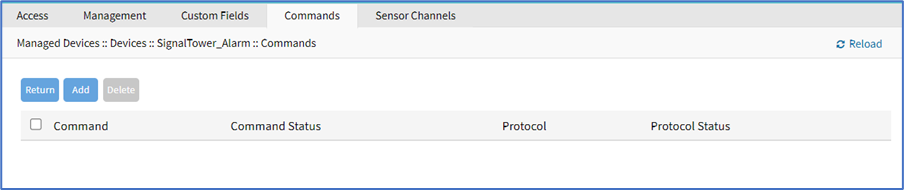
- To create a custom command, click Add.
- In Command drop-down select one (Web, Custom Commands).
- Select Web (displays dialog).
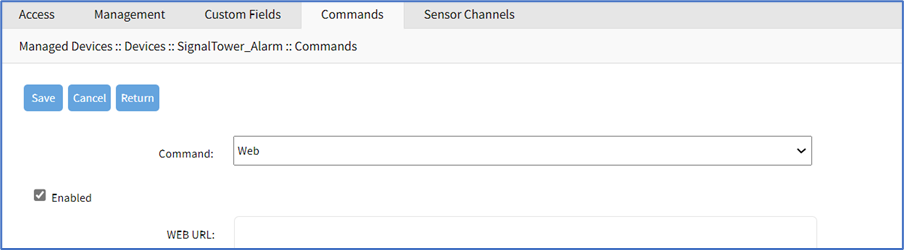 Select Enabled checkbox.
Enter WEB URL. - Select Custom Commands (displays dialog).
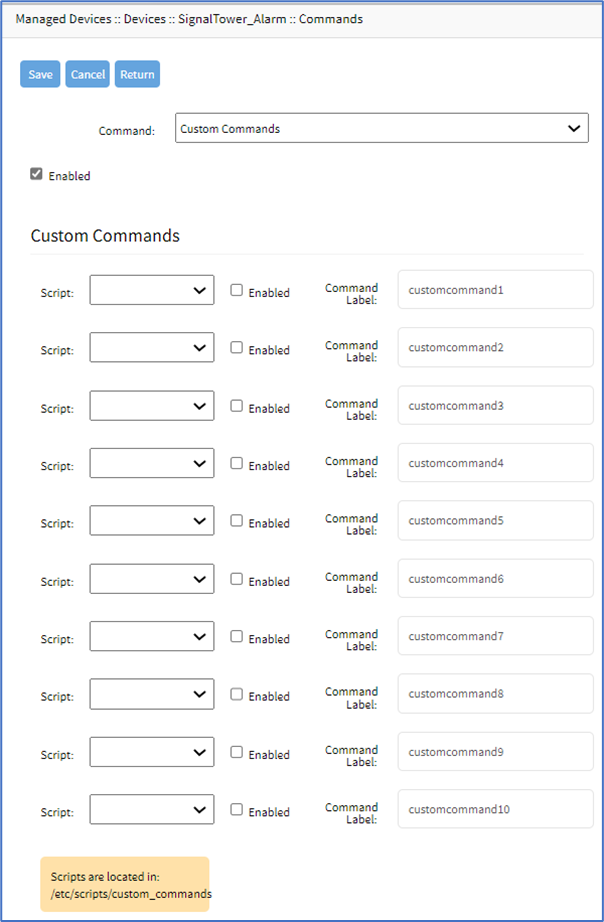 Select Enabled checkbox.
In Script drop-down, select one. Select Enabled checkbox. Enter Command Label.
- Select Web (displays dialog).
- (Repeat as needed)
- Click Save.
Sensor Channels sub-tab
The table displays configured sensor channels.
- Go to Managed Devices :: Devices :: SignalTower_Alarm :: Sensor Channels.

- Click on SignalTower_Alarm_cn0 channel (displays dialog).

- Edit Name (as needed).
- On Mode drop-down, accept default: light.
- On Unit drop-down, accept default: Off/On/Continuous Cycle.
- Click on SignalTower_Alarm_cn1 channel (displays dialog).
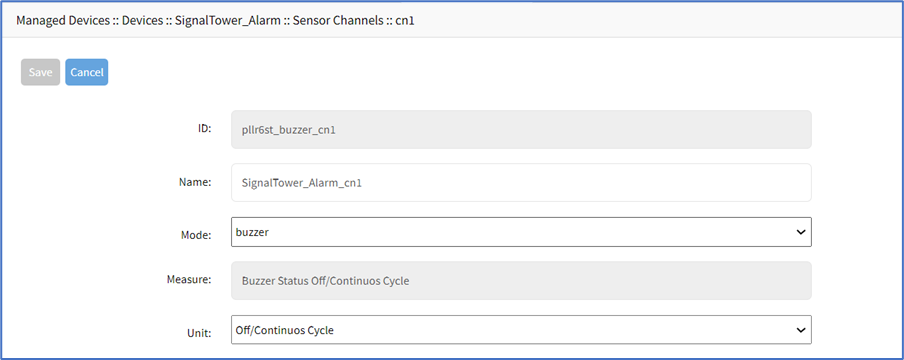
- Edit Name (as needed).
- On Mode drop-down, accept default: light.
- On Unit drop-down, accept default: Off/On/Continuous Cycle.
- Click on SignalTower_Alarm_cn2 channel (displays dialog).
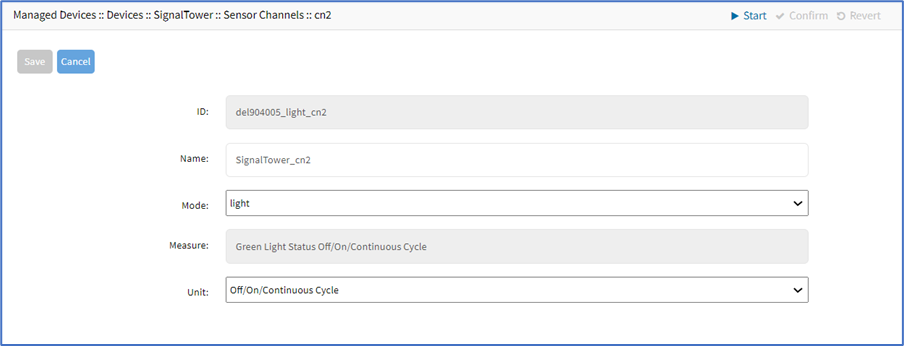
- Edit Name (as needed).
- On Mode drop-down, accept default: buzzer.
- On Unit drop-down, accept default: Off/On/Continuous Cycle.
- Click Save.