Install RedHat AWX (v17.1) for Infrsatructure automation
This document outlines the installation of RedHat AWX 17.1.0 on the Nodegrid Service Delivery Platform.
The guide covers the installation of AWX and how to access AWX after.
To run AWX in a production environment, follow the AWX guides to implement configuration and security, which is appropriate for a production environment.
1. Overview
At a high level, the following steps must be performed
- Enable
dockerservice on Nodegrid OS - Download RedHat AWX
- Install AWX
- Test the Installation
- Install Nodegrid Ansible Library
Note: All steps must be performed through the CLI or root shell. Configuration through the WebUI is currently not supported.
2. Requirements
- Nodegrid OS 5.8 or higher
- Virtulisation License
- Git Repository
- Internet connectivity
3. Nodegrid OS preparation
It is recommended to run large docker images with persistent data storage requirements like RedHat AWX on a dedicated 2nd disk.
To configure the Nodegrid OS and docker service to utilise the 2nd disk, follow this guide
- open an admin
cliinterface - Recommended if a 2nd disk is available
- change the default storage location to a dedicated 2nd disk if available, following this guide
- create AWX folders
shell sudo mkdir /run/media/sdb1/awx shell sudo mkdir /run/media/sdb1/awx/projects shell sudo mkdir /run/media/sdb1/awx/pgdocker shell sudo mkdir /run/media/sdb1/awx/awxcompose - enable the
dockerservicecd /settings/services/ set enable_docker=yes commit - Confirm that a valid Virtualization License is installed
The Example displays a valid installed licenseshow /settings/license/serial_number license_key application number_of_licenses expiration date details peer address type ============= ======================= ================= ================== =============== ======= ============ ================= 00000000588 xxxxx-xxxxx-xxxxx-UMUER docker containers 05 2023-07-01 local locally installed - install a new license key if required
cd /settings/license/ add set license_key=xxxxx-xxxxx-xxxxx-xxxxx commit - install docker-compose
shell sudo mount -o remount,rw /
shell sudo curl -SL https://github.com/docker/compose/releases/download/v2.17.3/docker-compose-linux-x86_64 -o /usr/local/bin/docker-compose
shell sudo chmod +x /usr/local/bin/docker-compose
shell sudo ln -s /usr/local/bin/docker-compose /usr/bin/docker-compose
shell sudo mount -o remount,ro /
- create a python venv to install the required python packages for the installation
shell sudo su -
python3 -m venv ./awxenv
source ./awxenv/bin/activate
pip3 install docker python-docker docker-compose ansible
export LANG="en_US.UTF-8"
export LC_ALL=en_US.UTF-8
- perform the installation with the current active phython enviorment, to re-activate the enviorment if required, perform the following steps:
shell sudo su -
source ./awxenv/bin/activate
export LANG="en_US.UTF-8"
export LC_ALL=en_US.UTF-8
AWX Installation
For more information on how to install AWX, including installation instructions in production environments
refer to the official instructions
AWX 17.1.0 is the last version that can be installed just with a docker runtime available. All newer versions require a running Kubernetes or other hypervisor environment. To install AWX it is required to download AWX from the official GitHub repo and install it.
The following outline uses mainly default values.
- open an root shell interface with the installed python enviormnt if required, from a admin cli
    shell sudo su -
    source ./awxenv/bin/activate
    export LANG="en_US.UTF-8"
    export LC_ALL=en_US.UTF-8
- Clone the AWX repository
git clone -b 17.1.0 https://github.com/ansible/awx.git
- Clone the AWX Logo's repository - Optional
git clone https://github.com/ansible/awx-logos.git
- Adjust the Inventory file with the system-specific details to adjust the default username and password.
- Edit the file with
vi awx/installer/inventory- Settings required
Note the Example assumes that a 2nd disk is available and that the folder
/run/media/sdb1/awx/existscreate_preload_data=False postgres_data_dir="/run/media/sdb1/awx/pgdocker" project_data_dir=/"run/media/sdb1/awx/projects" host_port=8080 host_port_ssl=8443 docker_compose_dir="/run/media/sdb1/awx/awxcompose" # This will create or update a default admin (superuser) account in AWX, if not provided # then these default values are used admin_user=admin admin_password=Passw0rd- Optional Settings
awx_official=true
- move to the installer directory
cd awx/installer/
- Install AWX using the provided install.yml playbook
ansible-playbook -i inventory install.yml
5. Post-install
After the playbook run completes, Docker starts a series of containers that provide the services that makeup AWX. You can view the running containers using the docker ps command.
Immediately after the containers start, the awx_task container will perform the required setup tasks, including database migrations. These tasks need to complete before the web interface can be accessed. To monitor the progress, you can follow the container's STDOUT by running the following:
$ docker logs -f awx_task
You will see output similar to the following:
Using /etc/ansible/ansible.cfg as config file
127.0.0.1 | SUCCESS => {
    "changed": false,
    "db": "awx"
}
Operations to perform:
  Synchronize unmigrated apps: solo, api, staticfiles, messages, channels, django_extensions, ui, rest_framework, polymorphic
  Apply all migrations: sso, taggit, sessions, sites, kombu_transport_django, social_auth, contenttypes, auth, conf, main
Synchronizing apps without migrations:
  Creating tables...
    Running deferred SQL...
  Installing custom SQL...
Running migrations:
  Rendering model states... DONE
  Applying contenttypes.0001_initial... OK
  Applying contenttypes.0002_remove_content_type_name... OK
  Applying auth.0001_initial... OK
  Applying auth.0002_alter_permission_name_max_length... OK
  Applying auth.0003_alter_user_email_max_length... OK
  Applying auth.0004_alter_user_username_opts... OK
  Applying auth.0005_alter_user_last_login_null... OK
  Applying auth.0006_require_contenttypes_0002... OK
  Applying taggit.0001_initial... OK
  Applying taggit.0002_auto_20150616_2121... OK
  Applying main.0001_initial... OK
...
Once migrations are complete, you will see the following log output indicating that migrations have been completed:
Python 2.7.5 (default, Nov  6 2016, 00:28:07)
[GCC 4.8.5 20150623 (Red Hat 4.8.5-11)] on linux2
Type "help", "copyright", "credits" or "license" for more information.
(InteractiveConsole)

>>> <User: admin>
>>> Default organization added.
Demo Credential, Inventory, and Job Template added.
Successfully registered instance awx
(changed: True)
Creating instance group tower
Added instance awx to tower
(changed: True)
...
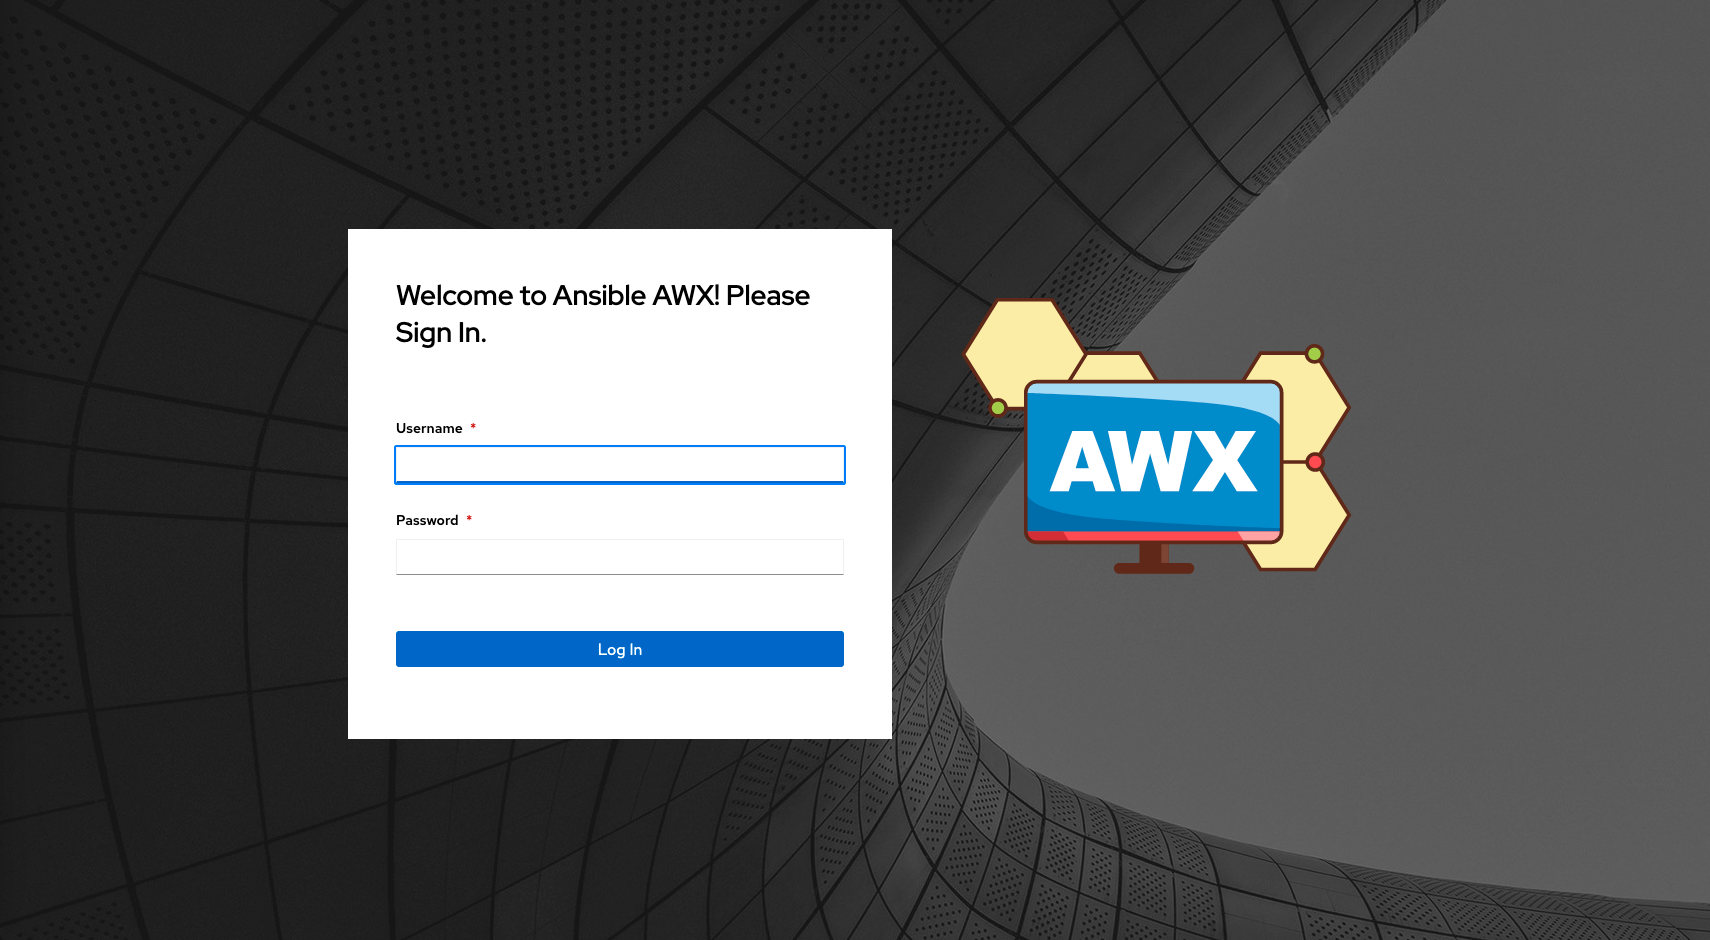
Accessing AWX
The AWX web server is accessible on the deployment host using the host_port value and username/password set in the inventory file. The default URL is http://
You will prompted with a login dialog. The default administrator username is admin, and the password is Passw0rd.