Cloudflare Zero Trust Usecase
ZPE as a platform enables deployment of third-party services/applications such as Cloudflare Zero Trust (the Usecase). This guide describes the main steps to deploy Cloudflare Zero Trust in a ZPE Noderid Hive SR (as depicted in the following diagram).
Cloudflare Zero Trust replaces legacy security perimeters with a global edge, making the Internet faster and safer for teams around the world ....

The objective of this usecase is to enable Internet traffic protection from and to a LAN deployed in a ZPE Nodegrid Hive SR by Cloudflare Zero Trust.
This guide sets up:
- Cloudflare Zero Trust environment configuration
- ZPE as a platform: Deploying a third-party application/service
- Validation of the scenario
1. Cloudflare Zero Trust environment configuration
The following guidelines are based on Cloudflare Zero Trust Docs.
Prerequisites
- Cloudflare acount
Start from the Cloudflare dashboard
- On the Cloudflare dashboard, click the Zero Trust icon.
- On the onboarding screen, choose a team name.
- To complete onboarding, select a subscription plan and enter payment details. This is still required, for the Zero Trust Free plan, but there is no charge.
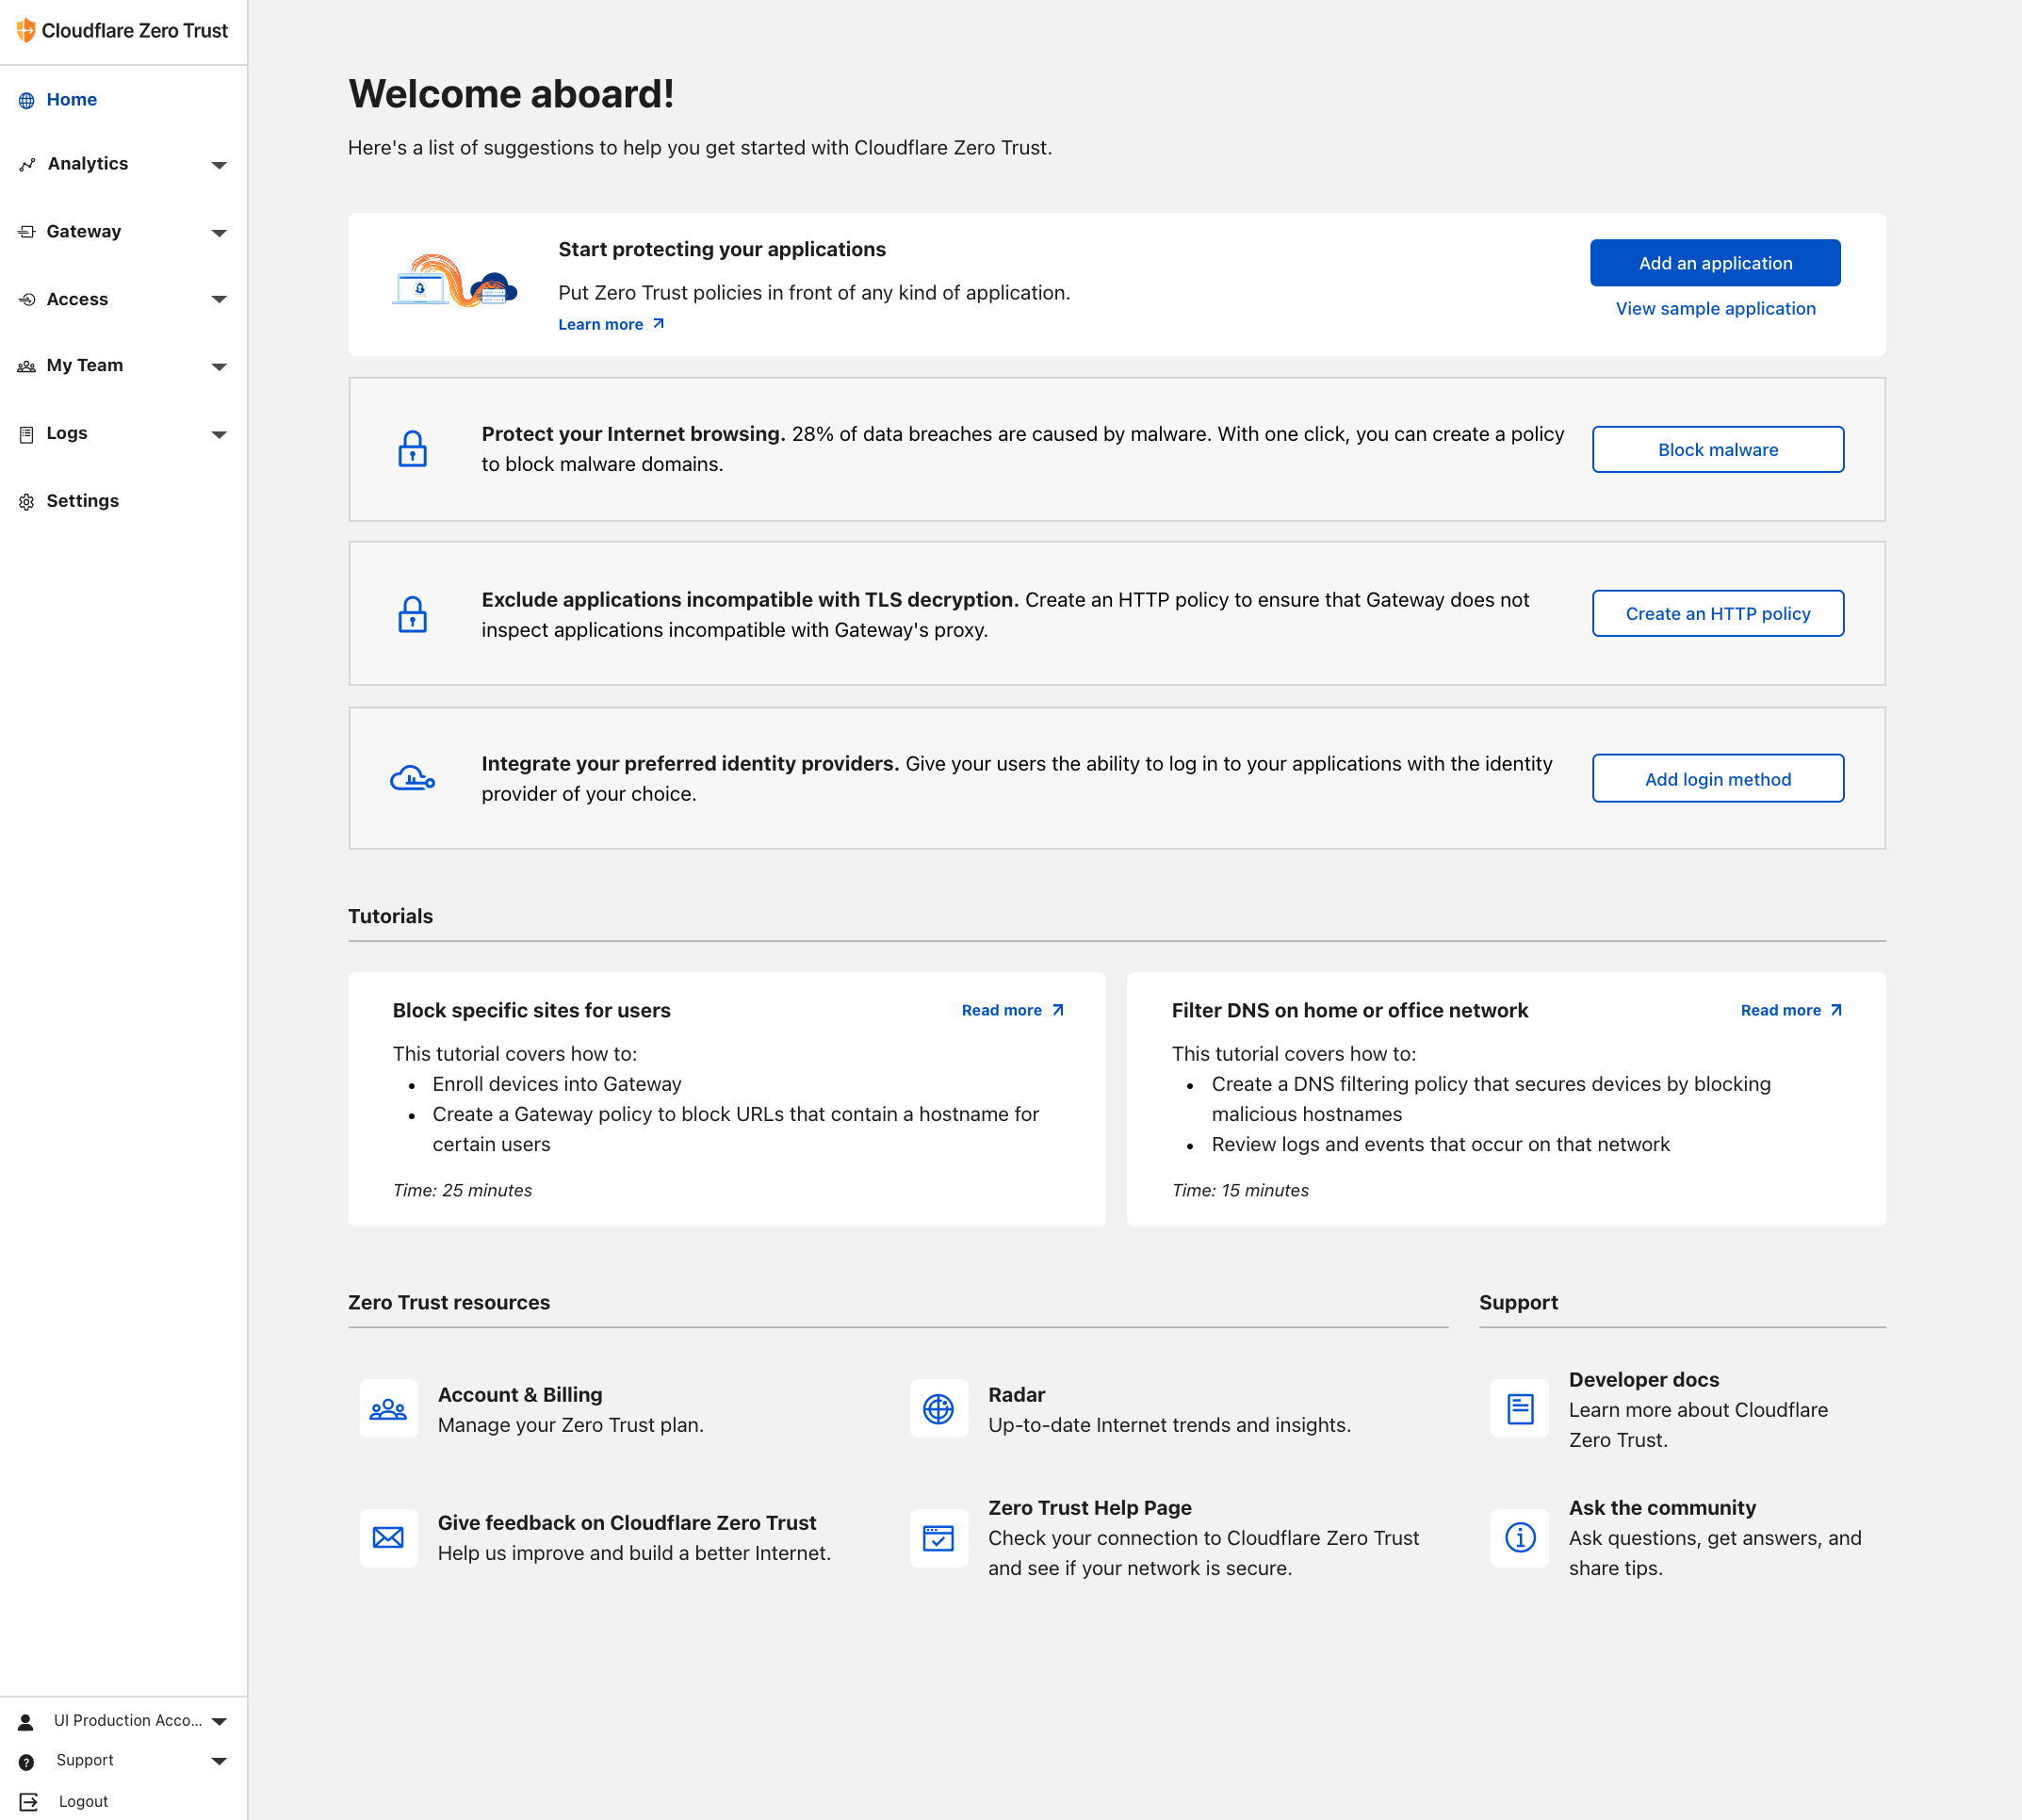
- On the "Welcome to the Zero Trust dashboard!", explore the list of one-click actions (designed to help kickstart your experience with Cloudflare Zero Trust).
Identity: Service tokens
Cloudflare Zero Trust provides service tokens to authenticate against Zero Trust policies. Cloudflare Access generates service tokens that includes a Client ID and Client Secret. Automated systems or applications can use the tokens to reach an application protected by Access.
Create a service token
- In the Zero Trust dashboard, navigate to Access > Service Auth > Service Tokens.
- Click Create Service Token.
- Enter Name. In the logs, this allows easy recognition of events related to the token. As needed, the token can be revoked individually.
- Choose a Service Token Duration (token's expiration date).
- Click Generate token. This displays the generated Client ID and Client Secret with request headers.
- Copy the Client Secret.
Important: This is the only time Cloudflare Access displays the Client Secret. If lost, a new service token must be generated.
The service token is used to configure Access policies and device enrollment rules.
Set device enrollment permissions
This specifies users that enroll new devices.
- In the Zero Trust dashboard, go to Settings > WARP Client.
- In the Device enrollment card, click Manage.
- In the Rules tab, click Add a rule
- Enter Name.
- In Rule action, select Service Auth.
- In Include subsection: Selector > Service Token, and Value > select the service token.
- Click Save.
Go to My Team > Devices to review enrolled and revoked devices.
Gateway Policies
Cloudflare Secure Web Gateway can set up policies to inspect DNS, Network, and HTTP traffic.
- DNS policies inspect DNS queries. Domains and IP addresses can be blocked from resolving on your devices.
- Network policies inspect individual TCP/UDP/GRE packets. Access to specific ports on the origin sever can be blocked, including non-HTTP resources.
- HTTP policies inspect HTTP requests. Specific URLs can be blocked from loading, not just the domain.
This guideline only considers the definition of a DNS policy to validate functionality, i.e., blocking a specific domain access from the LAN.
DNS policies
When a user makes a DNS request to Gateway, Gateway matches the request against the content or defined security categories. If the domain does not belong to any blocked categories, or matches an Override policy, the user’s client receives the DNS resolution and initiates an HTTP connection.
A DNS policy consists of an Action and a logical expression that determines the action's scope. To build an expression, choose a Selector and an Operator. In the Value field, enter a value or range of values. In this example, the policy blocks any domain that ends with domain.com.
- In the Zero Trust dashboard, go to Gateway > Firewall Policies.
- In the DNS card, click Create a policy
- In the Name your policy section, enter Name and Description (optional).
- In Build an expression section, for Selector enter Domain, For Operator, enter matches regex. For Value, enter
^*.domain.com - In Select an action section, for Action, enter Block
- Click Save policy.
Set up Split Tunnels
This defines a LAN network to be excluded from WARP.
- In the Zero Trust dashboard, go to Settings > WARP Client.
- Under Device settings, select the default device profile and click Configure.
- Under Split Tunnels, choose a Split Tunnel mode:
- (default) Exclude IPs and domains — All traffic is sent to Cloudflare Gateway except for the specified IPs and domains.
- Click Manage
- In the Selector dropdown, click IP Address.
- Enter the IP address or CIDR, i.e., 192.168.99.0/24
- Enter Description (optional).
- Click Save destination.
The IP address appears in the list of Split Tunnel entries. Traffic to these IP addresses are excluded from WARP.
Deploy the WARP client in ZPE
This describes how to deploty the WARP client in ZPE as an Application, and the configuration of the LAN.
2. ZPE as a platform: Deploying a third-party application/service
This describes the deployment of a third-party application/service in a ZPE Nodegrid, specifically the Cloudflare WARP application. This configures Cloudflare Zero Trust to protect and police LAN traffic. There are two steps: a) deploy an application in a Nodegrid Hive SR, and b) Cloudflare WARP installation and configuration.
The application is deployed in a Virtual Machine (VM) hosted by a Nodegride Hive SR (see the following diagram):

ZPE Requirements
This guideline is based on the following Nodegrid Hive SR:
| Version | v5.4.4 (Jan 29 2022 - 15:54:02) |
| CPU | Intel(R) Atom(TM) CPU C3558 @ 2.20GHz |
| CPU Cores | 4 |
| RAM | 15GB |
| Disk | 9GB |
| ZPE Licence | 5 VMs |
Virtual Machine deployment
Requirements for the VM are:
- 1 GB RAM
- 1 vCPU
- 7 GB disk
- 2 virtual network interfaces
- LAN access (virt0 -> eth0)
- WAN access (virt1 -> eth1)
Network configuration
On the Nodegrid Hive SR WebUI:
- Go to Network :: Connections.
- To create the lan bridge, click Add.
- In Name, enter brlan.
- On Type drop-down, select Bridge
- In IPv4 Mode menu, select No IPv4 Address radio button.
- On Bridge Interfaces, select lan0
- Click Save.
On the Nodegride Hive SR WebUI:
- Go to Applications :: Virtual Machines ::Networks.
- Select default networ.
- Click Activate.
VM instantiation
On the Nodegride Hive SR WebUI:
- Go to Applications :: Virtual Machines
- Select Create VM, and fill the Create new virtual machine form with:
| Field | Value |
|---|---|
| Name | cloudflare |
| Installation type | URL (ISO image or distro install tree) |
| Installation source | http://ftp.us.debian.org/debian/dists/Debian11.6/main/installer-amd64/ |
| Operating system | Debian |
| Storage | Create new volume |
| Size | 7GiB |
| Memory | 1GiB |
- Click Create
- Access the cloudflare VNC console and complete the Debian OS installation process in the VM with the following:
- Headless VM (no desktop environment)
- Root creedentials
- Add a new network interface to the cloudflare VM with these details:
| Field | Value |
|---|---|
| Interface type | Bridge to LAN |
| Source | bridge name, e.g., br0 |
| Model | (Linux, perf) |
| Persistence | check Always attach |
Continue the Cloudflare WARP application installation and configuration in the next section.
ZPE application: Cloudflare WARP
On the Nodegride Hive SR WebUI:
- Go to Applications :: Virtual machines :: cloudflare VNC console.
- Access the Console window.
- Install the following packages:
git,python3-pip
su
apt install git python3-pip sudo ansible
- Clone the following repo:
git clone https://github.com/ZPESystems/cloudflare.git
cd cloudflare
- Edit the
vars/vars.ymlfile and enter required information in the<<field>>fields
Note: The organisation name is the customizable portion of your team domain. You can view your team name in Cloudflare Zero Trust under Settings > General.
team domain team name
| team domain | team name |
|---|---|
| <your-team-name>.cloudflareaccess.com | your-team-name |
# Cloudflare WARP Service token
cloudflare_organization: <<organization name>>
cloudflare_auth_client_id: <<auth_client_id>>
cloudflare_auth_client_secret: <<auth_client_secret>>

# VM LAN interface
lan_interface: <<lan_interface_name>>

# Cloudflare LAN
# Split Tunnel LAN network enabled in cloudflare, e.g., 192.168.99.0/24
cloudflare_network: 192.168.99.0/24
cloudflare_address_a: 192.168.99.1/24
cloudflare_address_b: 192.168.99.2/24
cloudflare_gateway: 192.168.99.1
- Execute the ansible playbook to install the cloudflare WARP client
su
cd zpe-cloudflarewarp
ansible-playbook cloudflarewarp.yml -K
- Connect a Client into the hive SR
lan0port
Proceed to the validation.
Note: From the newly created VM, you will not be able to ping the local network. This is normal behavior.
3. Validation of the scenario
Follow this procedure:
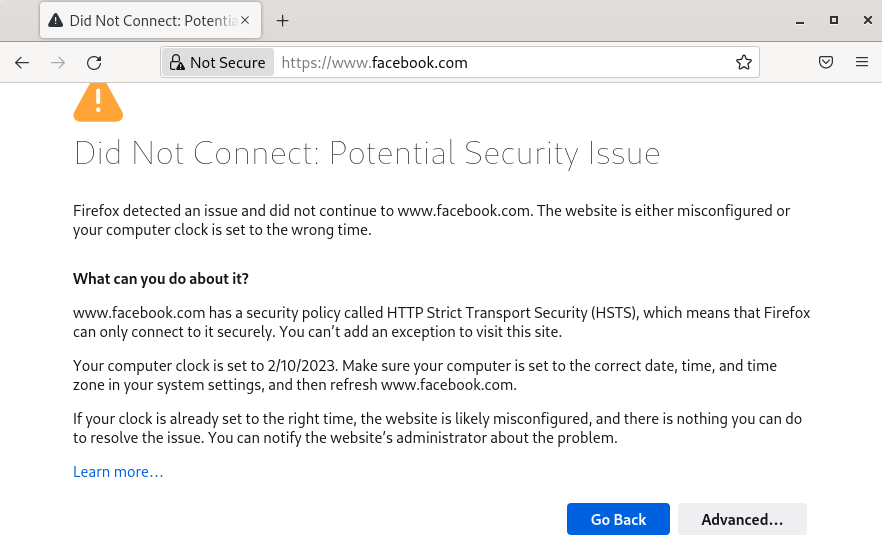
- Define a firewall rule that blocks the following reg-exp domain in the Cloudflare Zero Trust dashboard
- Reg-exp:
^*.facebook.com
- Reg-exp:
- Access from a LAN Client to the url
facebook.com - The Client should not be able to access the webpage