Custom Fields
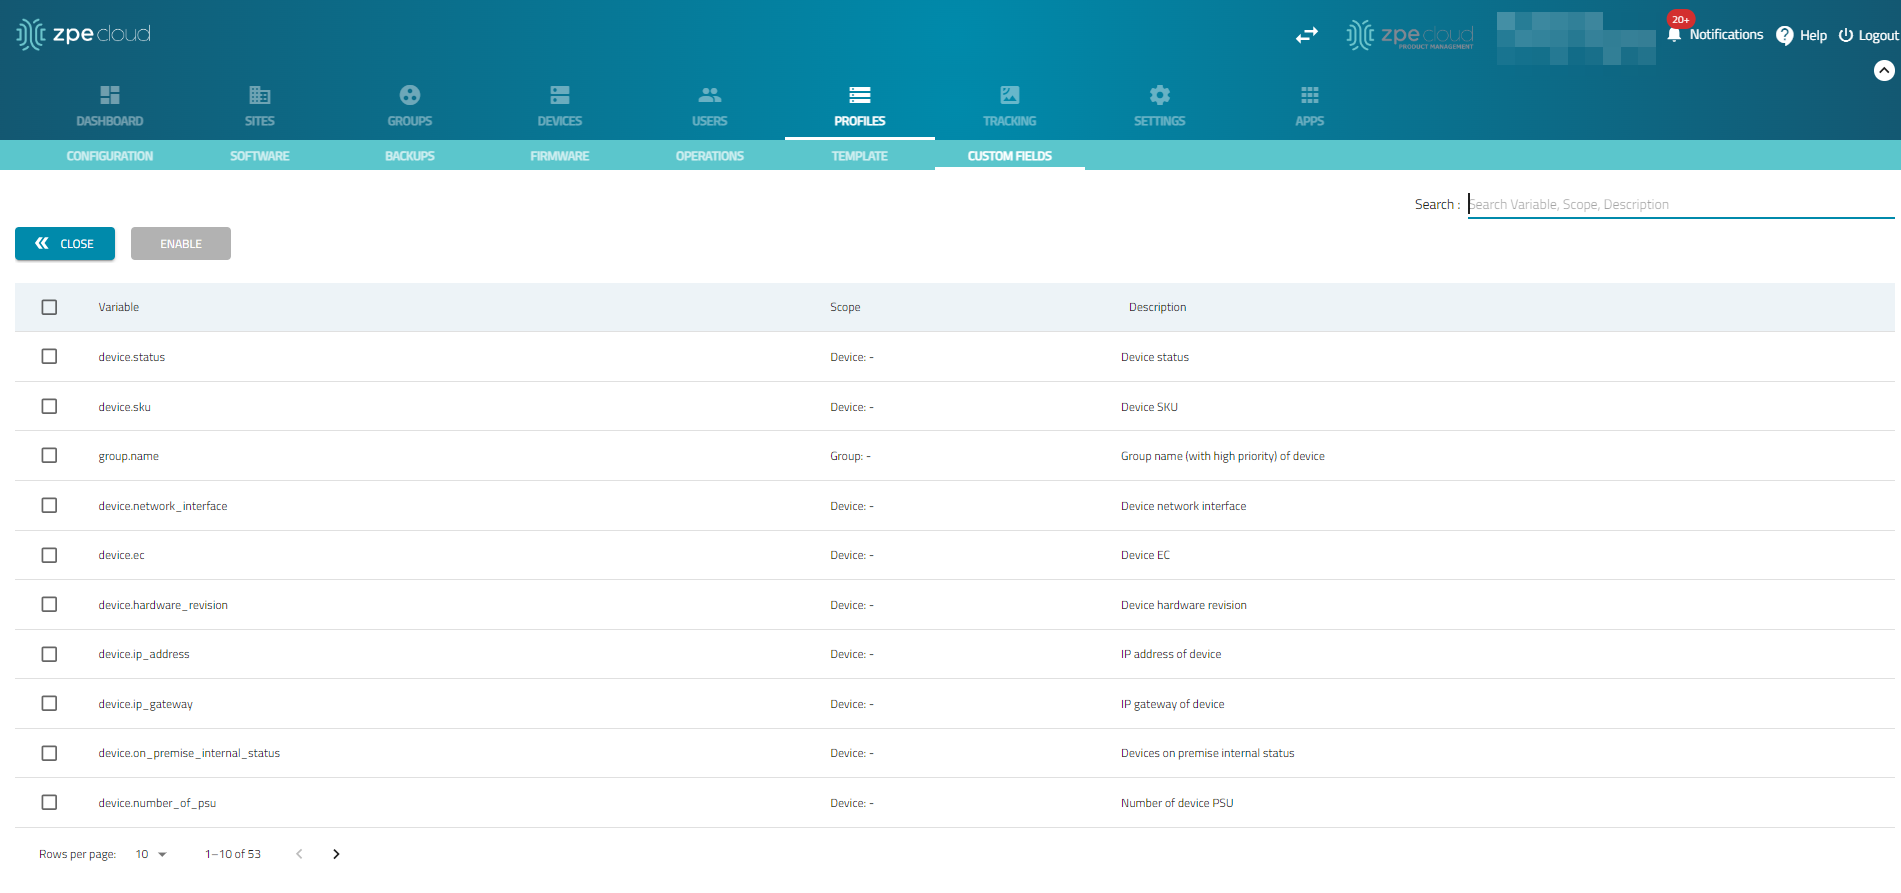
In the ZPE Cloud application, administrators can create custom fields tailored to their specific needs, offering enhanced control over how data is captured and managed within the platform. With the ability to define custom fields based on different scopes—Global, Device, Site, and Group—administrators can ensure that the specific data is collected for a required system. The following figure shows the custom fields created in the ZPE Cloud. You can create new fields, edit, delete, enable, or disable as needed.
.png)
Manage Custom Fields
Add a New Custom Field
Go to PROFILES :: CUSTOM FIELDS.
Click NEW (displays dialog). The Add Custom Field screen is displayed.
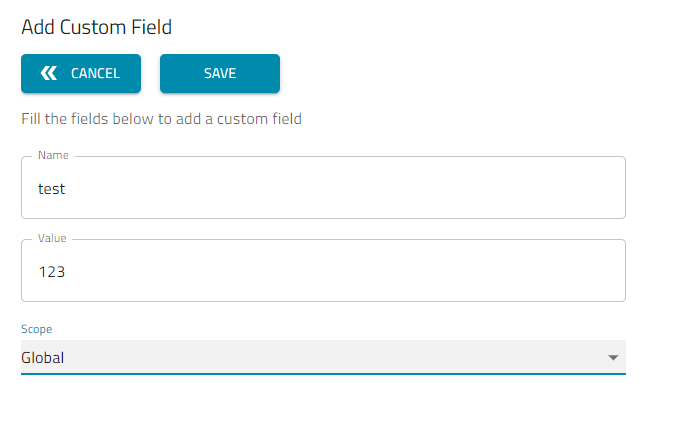
Enter Field Name and Field Value.
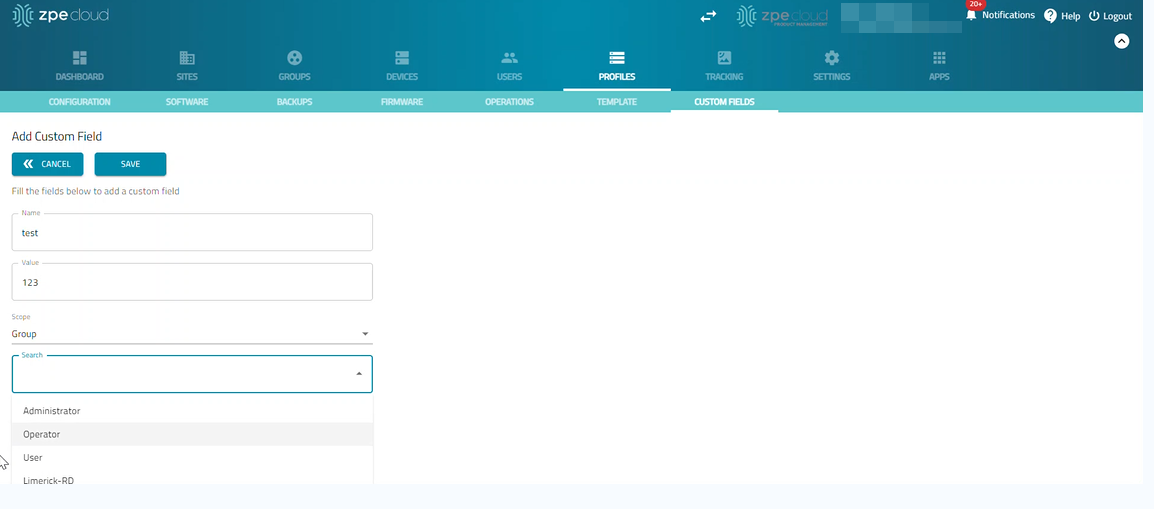
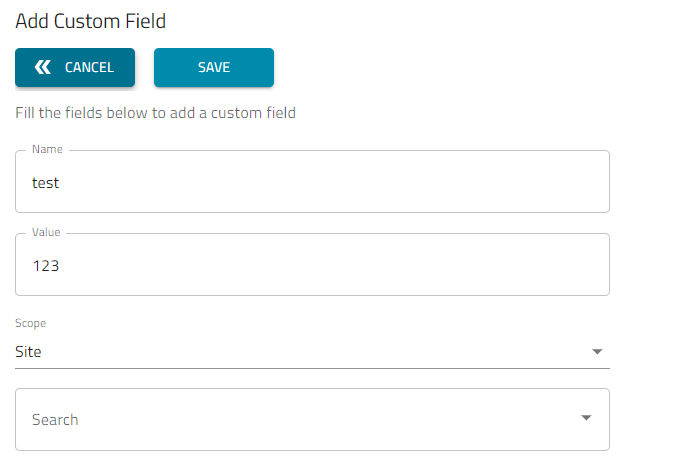
On Scope drop-down, select one of the following options:
Global (applies to all configurations)
Group (expands dialog). On drop-down, select the group type (for example, Administrator, Operator, User) for which you want to create the custom configuration.
Site (expands dialog). On the drop-down, select one of the country locations where the device is deployed.
Device (expands dialog). On the drop-down, select one list of the devices. The selected device name and serial number are displayed in the drop-down. This list includes devices under both the Enrolled and Available categories.
.png)
Click SAVE.
Delete Custom Field
Go to PROFILES :: CUSTOM FIELDS.
Select checkbox next to Name.
Click DELETE.
Enable a Custom Field
A custom field must be enabled to be available.
Go to PROFILES :: CUSTOM FIELDS.
Select checkbox next to Name.
Click ENABLE.
Disable a Custom Field
Go to PROFILES :: CUSTOM FIELDS.
Select checkbox next to Name.
Click DISABLE.
Dynamic Variables
When static variables are used in a template, users must clone existing templates and manually adjust the variables based on their specific requirements before deployment. This process involves multiple steps, such as downloading the script, modifying values, and re-uploading. To simplify and optimize this workflow, ZPE Cloud introduces dynamic variable templates. With dynamic variables, users can upload predefined templates that can be customized in real-time. Once the dynamic variables are selected, ZPE Cloud automatically generates a working configuration that is ready for deployment on the target device. This removes the need for manual script editing, ensuring faster and more reliable deployments.
Enable Dynamic Variables
To enable a dynamic variable:
Go to PROFILES :: CUSTOM FIELDS.
Click DYNAMIC VARIABLES (displays dialog).
Select checkboxes of variables to be enabled.
Click ENABLE (displays pop-up dialog).
On the dialog, click YES.
Disable Dynamic Variables
Go to PROFILES :: CUSTOM FIELDS.
Click DYNAMIC VARIABLES (displays dialog).
Select checkboxes of variables to be disabled.
Click DISABLE (displays pop-up dialog).
On the dialog, click YES.