Additional Ethernet interfaces can be added and configured when an additional physical interface is added. This can occur during a Nodegrid Manager installation, where the System might have more than two interfaces to better support network separation.
Go to the NETWORK::CONNECTIONS page
Click Add (displays dialog)
Enter Name
On Type drop-down, select Ethernet (dialog changes)
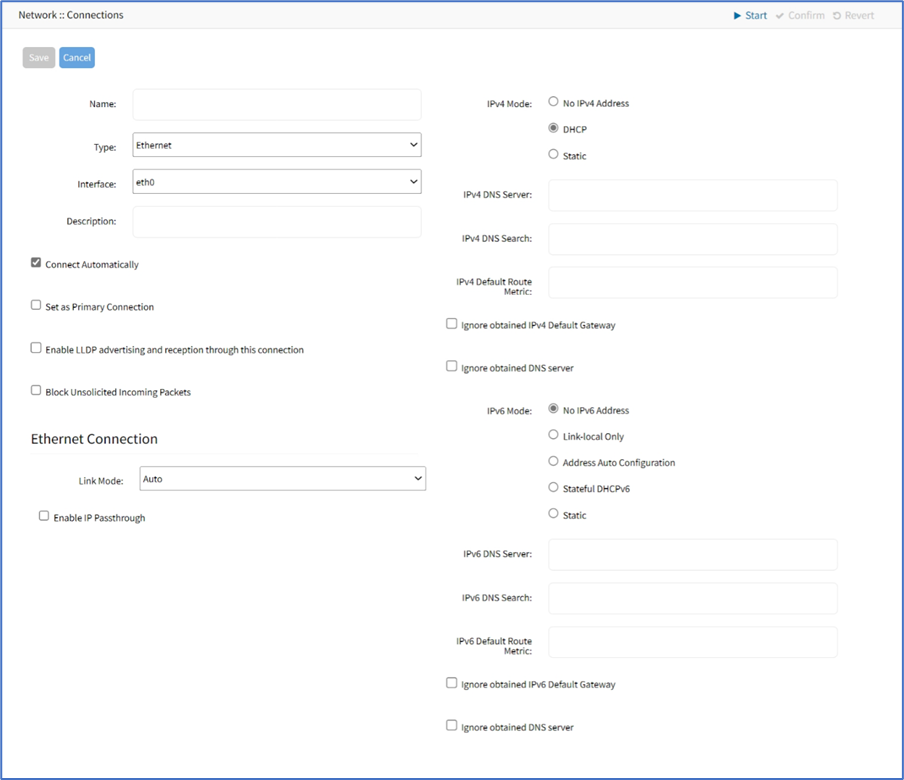
Enter Description
If the Connect Automatically checkbox is selected, the connection is automatically established at startup
Set as Primary Connection checkbox (defines interface as the primary connection. Only one interface can be the primary.)
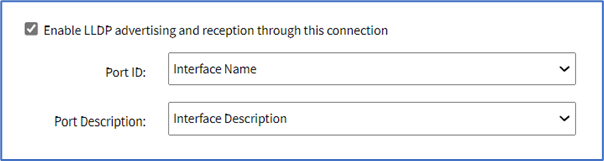
If Enable LLDP advertising and reception through this connection checkbox is selected. On the Port ID drop-down, select one. On Port Description drop-down, select one
Select the Block Unsolicited Incoming Packets checkbox (automatically blocks all inbound connections on the interface).
In the Ethernet Connection menu, on the Link Mode drop-down (availability depends on the interface and the device model), enable the Auto selection or select the forced or advertised speed/duplex (options vary depending upon the hardware and SFP transceiver used). You can navigate to the TRACKING::NETWORK::INTERFACE page or execute the command "ethtool <interface>" from the shell access to view the configured speed/duplex
On the Enable IP Passthrough checkbox (expands dialog) enter the details:
Ethernet Connection drop-down, select one (selection varies depending on device)
MAC Address (if blank, the system uses DHCP to get the device)
Port Intercepts (any ports that should NOT pass through the Nodegrid device)
In IPv4 Mode menu, enter details:
No IPv4 Address radio button
DHCP radio button
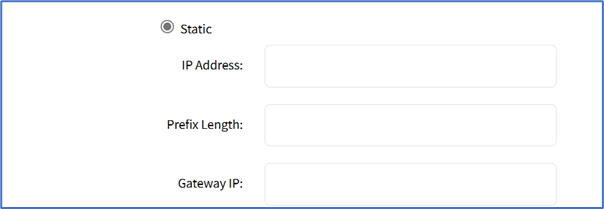
Static radio button (if selected, expands dialog). Enter IP Address, BitMask. and (optional) Gateway IP

(optional) IPv4 DNS Server
IPv4 DNS Search (defines a domain name for DNS lookups)
IPv4 Default Route Metric
Ignore obtained IPv4 Default Gateway checkbox
Ignore obtained DNS server checkbox
In IPv6 Mode menu, enter details:
No IPv6 Address radio button
Link local Only radio button
Address Auto Configuration radio button
Stateful DHCPv6 radio button
If Static radio button is selected (displays menu). Enter IP Address, Prefix Length, and (optional) Gateway IP
(optional) Enter IPv6 DNS Server.
IPv6 DNS Search (defines domain name for DNS lookups)
IPv6 Default Route Metric
Ignore obtained IPv6 Default Gateway checkbox
Ignore obtained DNS server checkbox
Click Save.