Go to the NETWORK::CONNECTIONS page
Click Add (displays dialog)
Enter Name
On Type drop-down, select PPPoE (dialog changes)
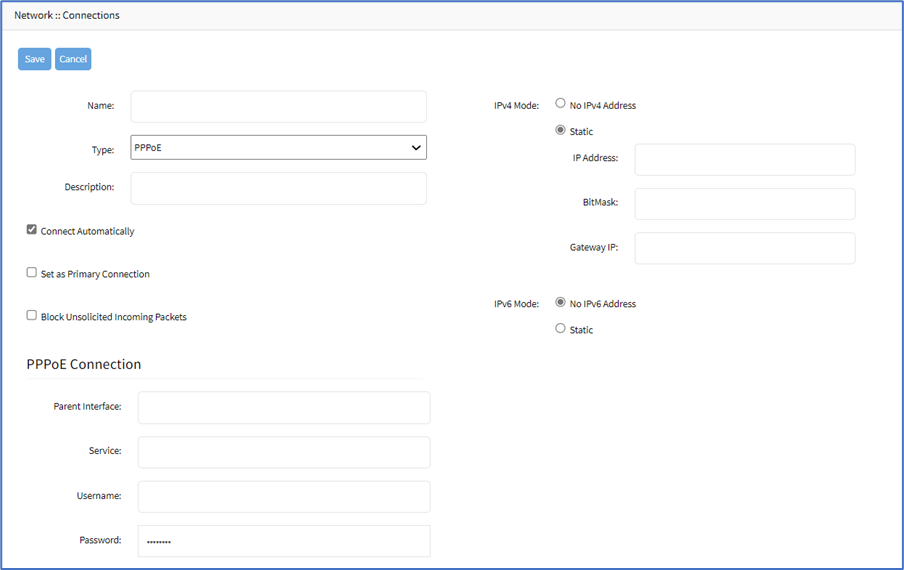
Enter Description
If Connect Automatically checkbox is selected, connection is automatically established at startup
Set as Primary Connection checkbox (defines interface as the primary connection. Only one interface can be the primary.)
Select Block Unsolicited Incoming Packets checkbox (automatically blocks all inbound connections on the interface).
In PPPoE Connection menu, enter details:
Parent Interface (default: blank) Specifies the parent interface name on which this PPPoE connection should be created. If blank, connection is activated on the ethernet interface
Service (default: blank) Specifies PPPoE only initiates sessions with access concentrators that provide the specified service. For most providers, leave blank. Required only if there are multiple access concentrators or a required specific service. Access concentrators grants access to multiple users with needing a dedicated connection for each user.
Enter Username and Password
If Enable IP Passthrough checkbox selected (expands dialog) enter details:
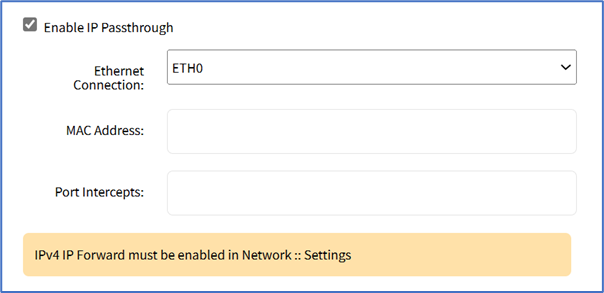
Ethernet Connection drop-down, select one (ETH0, ETH1, hotspot)
MAC Address
Port Intercepts
In IPv4 Mode menu, select one:
No IPv4 Address radio button
DHCP radio button
In IPv6 Mode menu, select one:
No IPv6 Address radio button
Address Auto Configuration radio button
Click Save.
Add PPPoE Interface
- Updated on May 19, 2026
- Published on Mar 9, 2023
- 1 minute(s) read
Was this article helpful?