The FRR page allows users to view and modify all Free Range Routing (FRR) protocol configurations in a single place. Since FRR configuration is quite extensive and complex to remember the command involved in execution, this page is very useful for reviewing protocol configuration, executing configuration adjustments, and creating configuration backup.
Configuring FRR
Go to the NETWORK::ROUTING page
Select FRR from the Routing dropdown list
.png)
In the Configuration section, enter the required configuration
Enter FRR Configuration
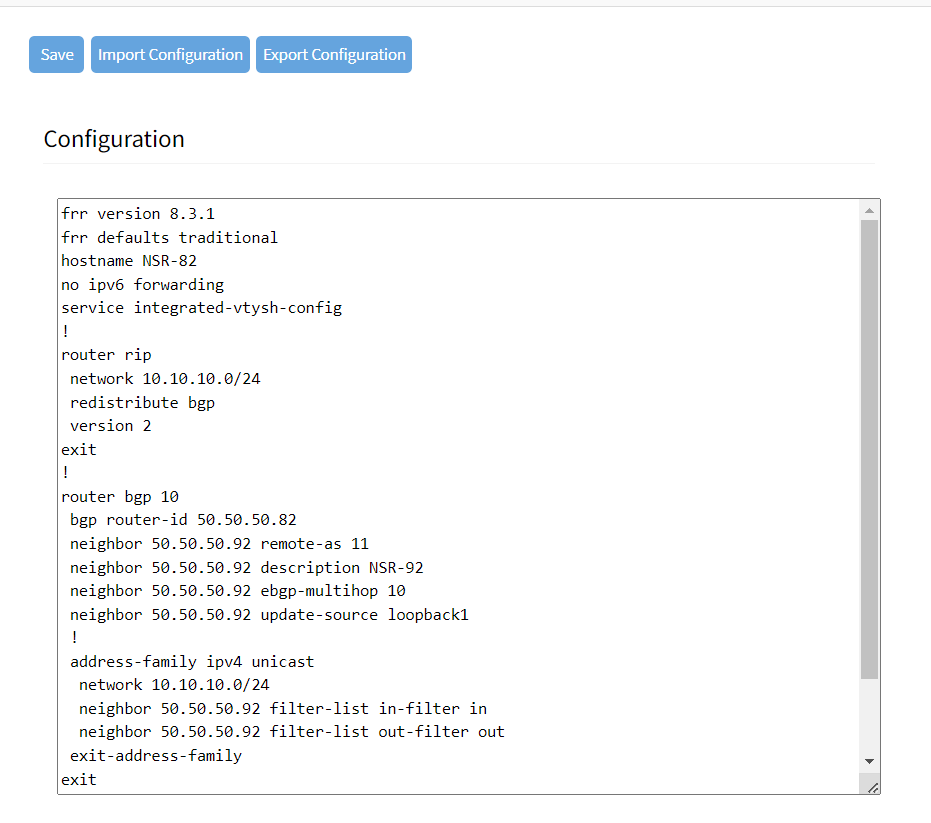
Click Save
To import configuration, click Import Configuration
Local Computer: If the FRR.conf file is located on the Local Computer, click Choose File
Select the file
Click Open
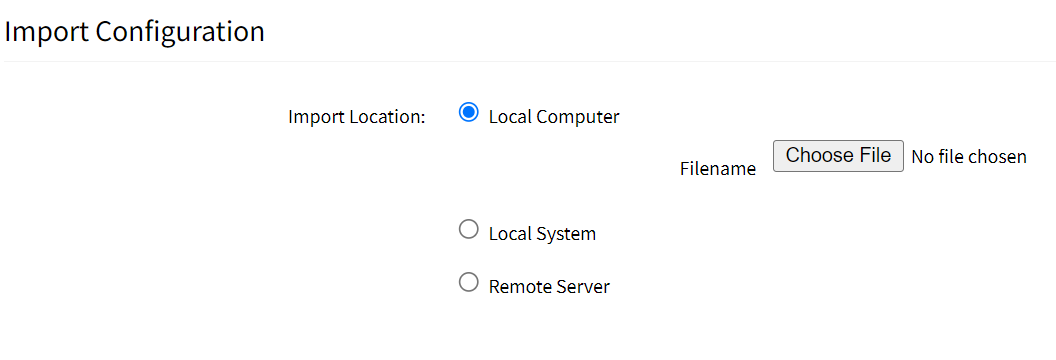
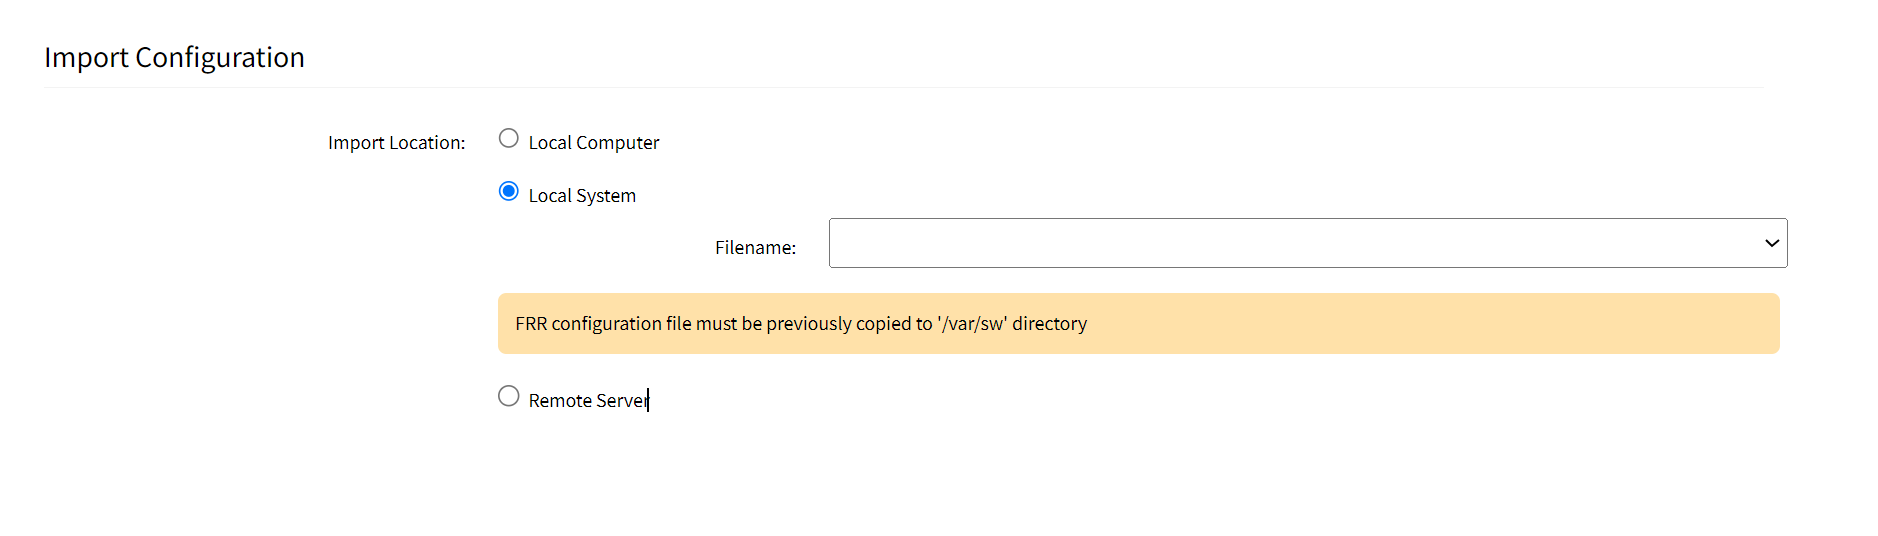
Local System: Ensure that the FRR.conf file is already available in the local System. Once the file is available, select the file from the Filename drop-down list
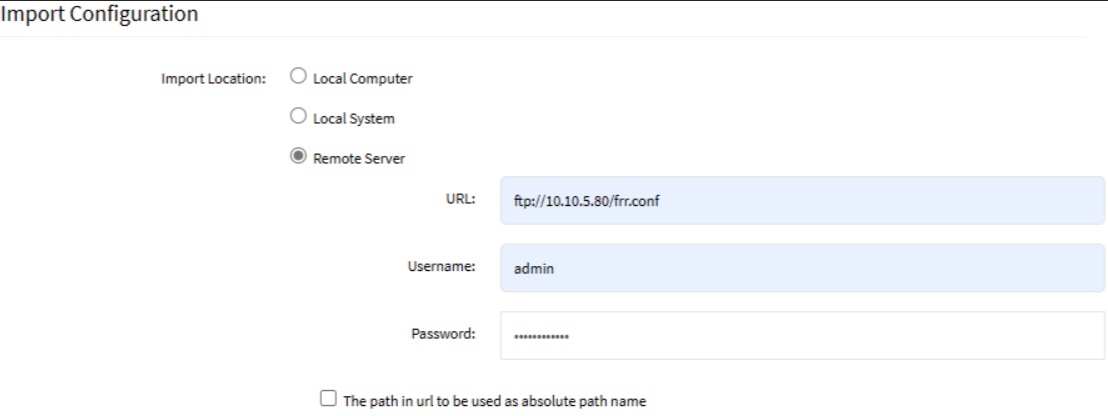
Remote Server: Configure the remote location where the FRR.conf file is available:
URL: Enter the URL to the FRR.conf file. The supported URL formats are:
PROTOCOL://SERVER_ADDRESS/REMOTEFILE
PROTOCOL://SERVER_ADDRESS:SERVER_PORT/REMOTEFILE where, PROTOCOL can be TFTP, FTP, HTTP, HTTPS, SCP, and SFTP
SERVER_ADDRESS can be IPv4, IPv6, or name
Username: Username to log in to the remote server
Password: Password to log in to the remote server
Click Save
Verifying the Router Configuration Changes
To verify the changes performed using the FRR configuration:
Go to the ACCESS::CONSOLE page
exec frr
do show running-config
Enter the following command:
The command displays the newly configured FRR details as a response.