Create USB Boot Media
In certain situations, you may need to recover a Nodegrid unit due to software malfunctions or configuration errors. To accomplish this, you can create a USB boot media, a method provided by the Nodegrid platform that proves especially useful when network connectivity and infrastructure are limited or unavailable.
Prerequisites
To create a Nodegrid USB bootable device, ensure that the following pre-requisites are met:
Ensure you have the current firmware version file
Ensure you have a USB mass storage device with a minimum of 1GB storage for firmware up to 4.x and 2GB for firmware 5. x
Warning:
The USB mass media device will be completely wiped, and all data will be overwritten while creating a USB bootable media.
Create USB Boot media on Mac OS
Convert the Nodegrid .iso file to .img format.
MacBook-Pro:~ user$ hdiutil convert -format UDRW -o nodegrid-iso-file.img nodegrid-iso-file.iso
Reading boot
(Apple_ISO:0).......................................................................................................................................
Reading  (Apple_Free : 1)...
Elapsed Time: 862.112ms
Speed: 430.3Mbytes/sec
Savings: 0.0%
created: /Users/user/nodegrid-iso-file.img.dmg
Insert the USB drive into the Mac.
Identify the entered USB device.
MacBook-Pro:~ user$ diskutil list
/dev/disk0 (internal, physical):
  #: TYPE NAME                                          SIZE                    IDENTIFIER
  0: GUID_partition_scheme.                      *500.3 GB           disk0
  1: EFI EFI                                                    209.7 MB          disk0s1
  2: Apple_CoreStorage Macintosh HD.       499.4 GB           disk0s2
  3: Apple_Boot Recovery HD                      650.0 MB          disk0s3
/dev/disk1 (internal, virtual):
  #: TYPE NAME                                           SIZE                     IDENTIFIER
  0: Apple_HFS Macintosh HD                    +499.1 GB          disk1

/dev/disk2 (external, physical):
#: TYPE NAME                                    SIZE                      IDENTIFIER
0: FDisk_partition_scheme                 *8.0 GB                disk2
1: DOS_FAT_32 UNTITLED                8.0 GB                 disk2s1
Unmount the USB device to write with the .img file.
MacBook-Pro:~ user$ diskutil unmount disk2

Volume UNTITLED on disk2s1 unmounted
Flash the USB device with the .img file. This step overwrites all existing data on the device.
Note:
Selecting the wrong disk may overwrite your MacOS or other system disks. Make sure to select an external disk.
MacBook-Pro:~ user$ sudo dd if=./nodegrid-iso-file.img.dmg of=/dev/rdisk2 bs=1m
Password:
371+0 records in
371+0 records out
389021696 bytes transferred in 57.403191 secs (6777005 bytes/sec)
Eject the USB device after the .img file has been successfully written.
MacBook-Pro:~ user$ diskutil eject disk2

Disk disk2 ejected
Create a USB Boot media with Third third-party applications
Use the following instructions for Windows, MacOS, and Linux third-party applications that allow users to create bootable USB media.
There are two options, Etcher or Rufus. The recommended option is Etcher.
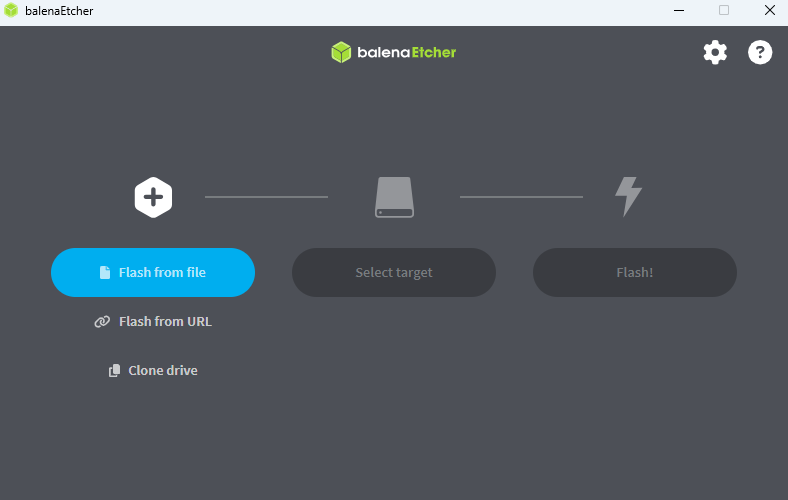
Create USB Boot media with Etcher
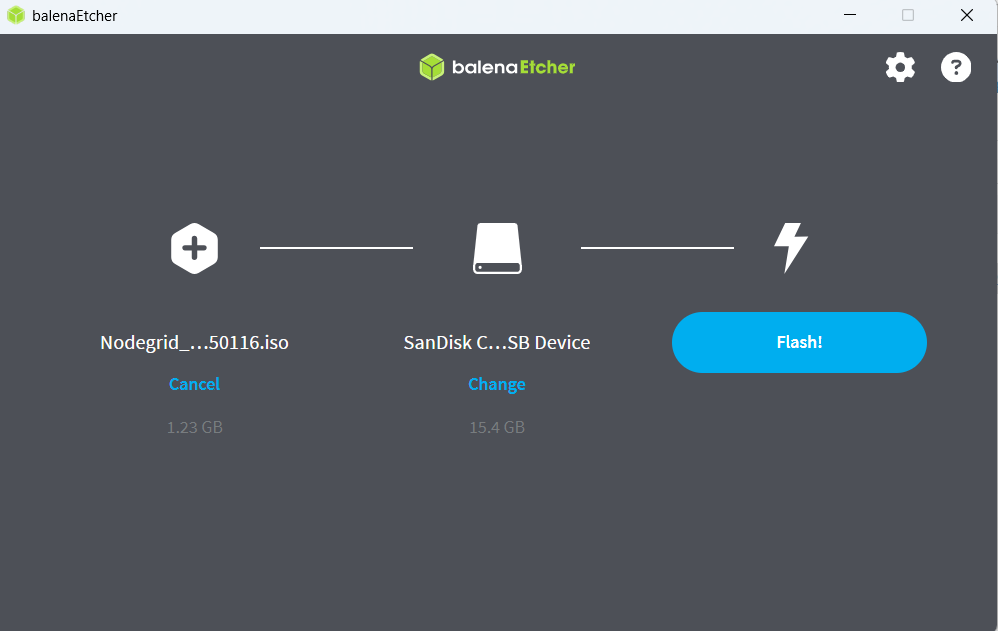
Select Flash from File.
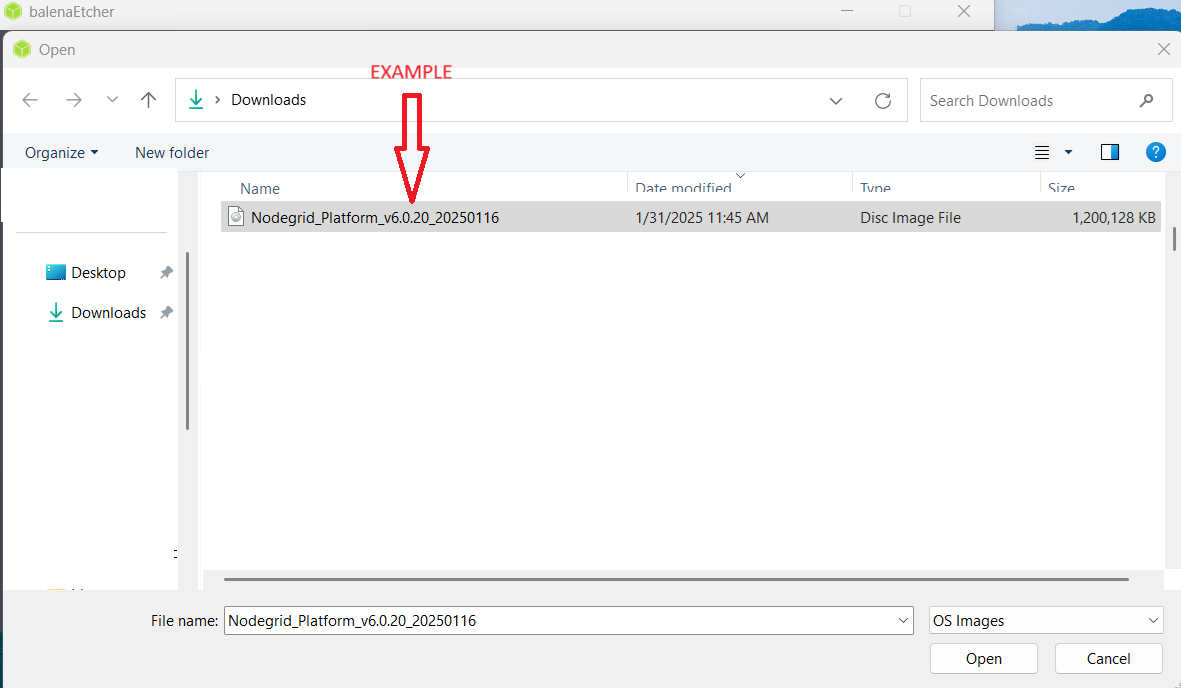
Select the image.
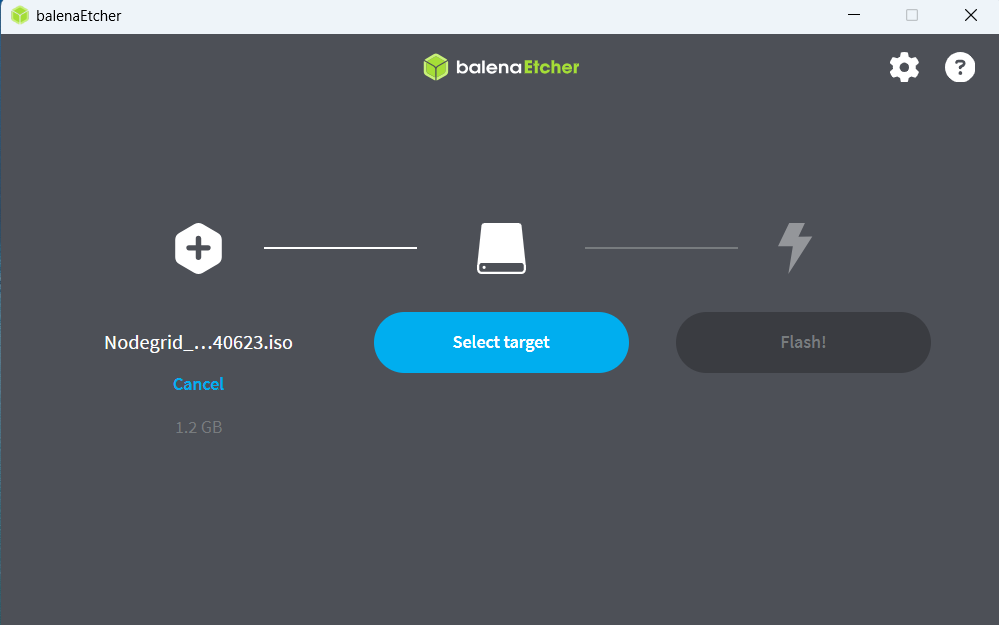
Select the drive where image is stored.
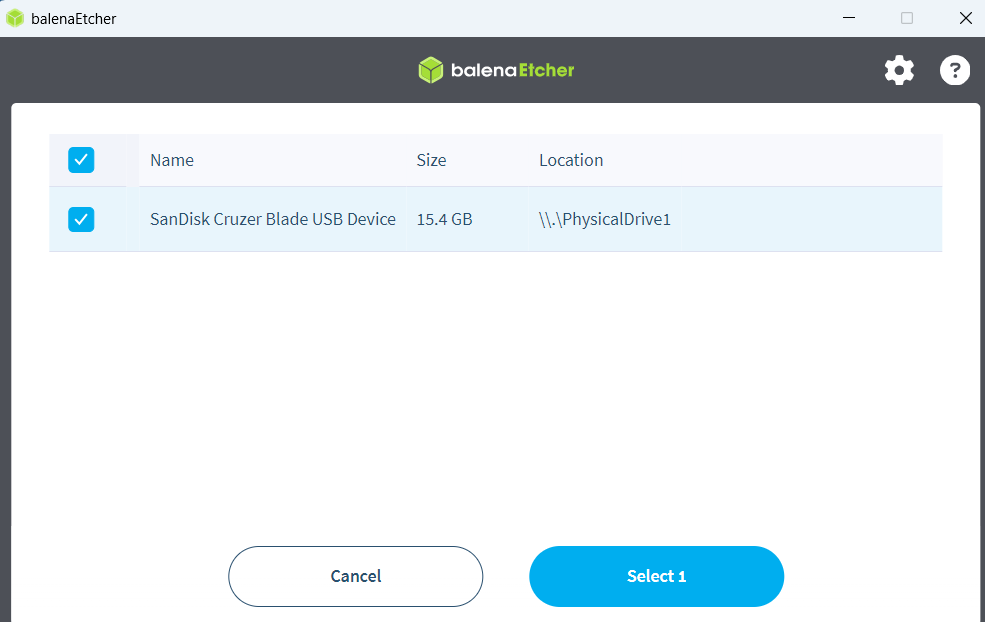
Choose the USB drive.
The following sequence of operations occurs during the boot process:
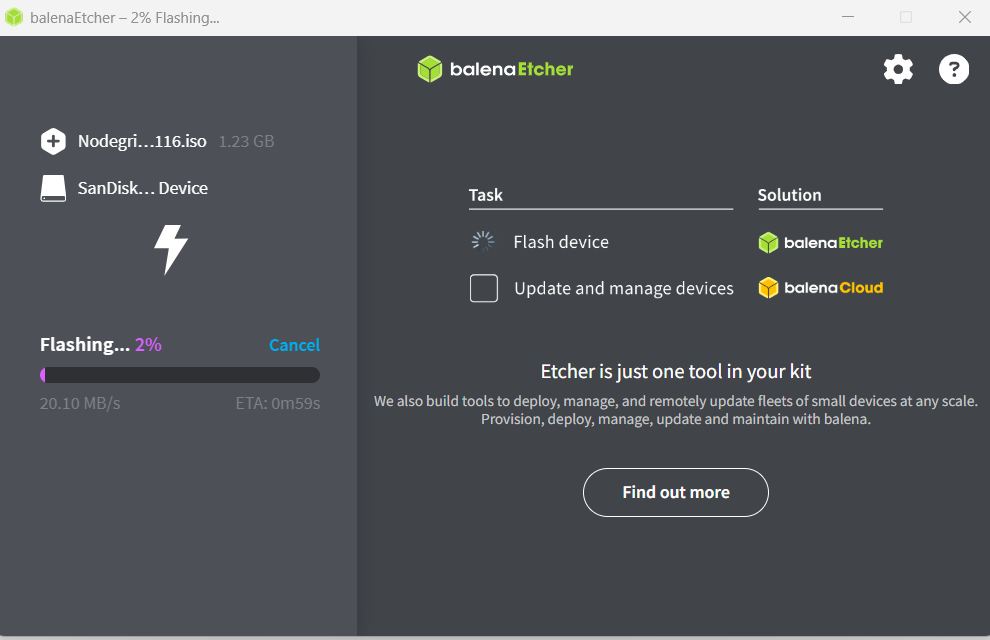
Flash the USB drive.
The USB drive flashing begins.
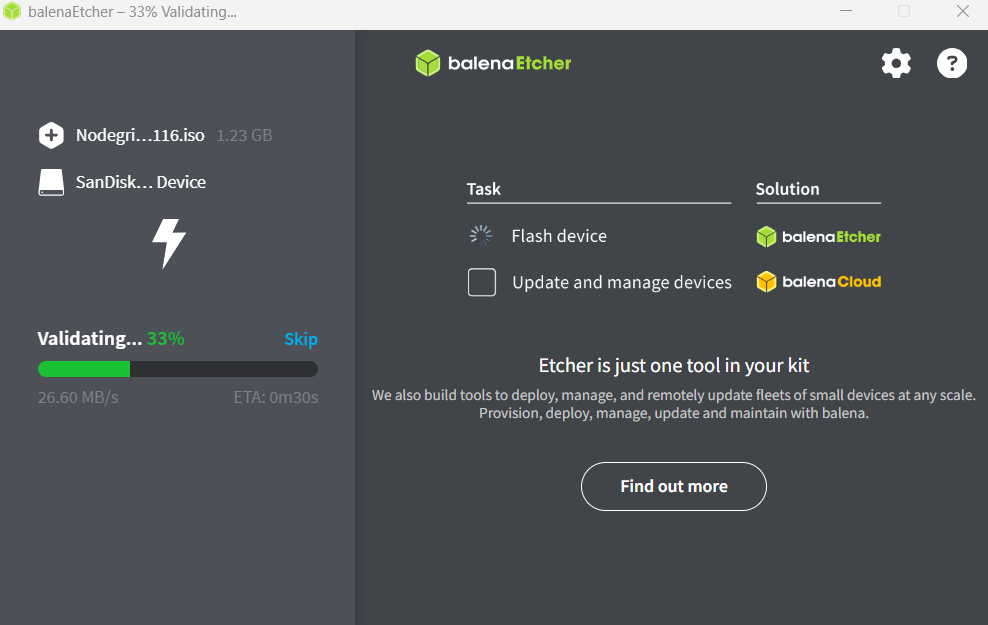
The image validation occurs.
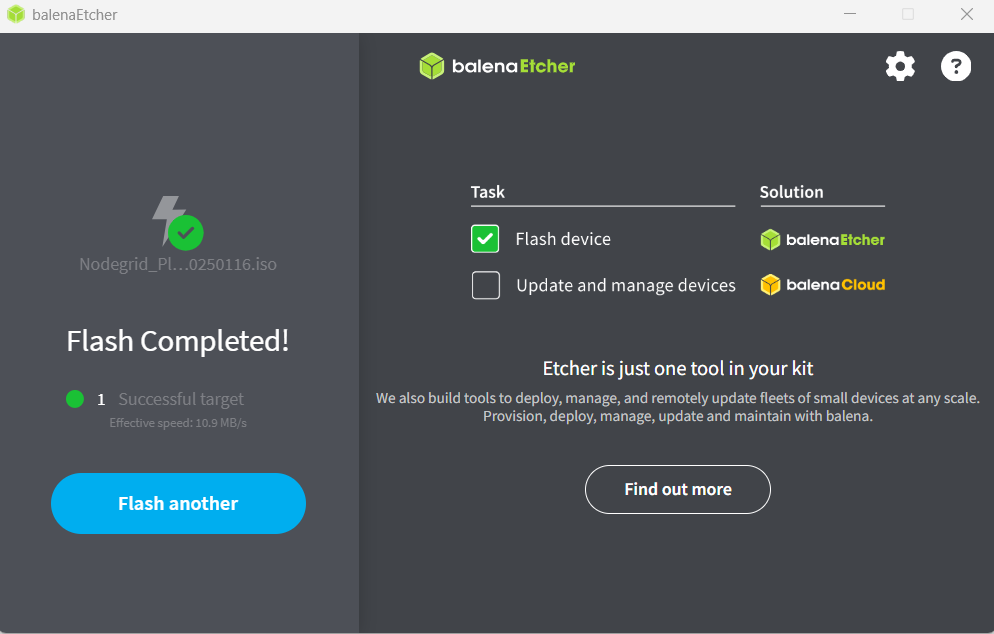
The USB flashing completes.
Create USB Boot media with Rufus
If you are using Rufus to create a bootable media, perform the following actions:
Launch Rufus.

Select Write in DD image.
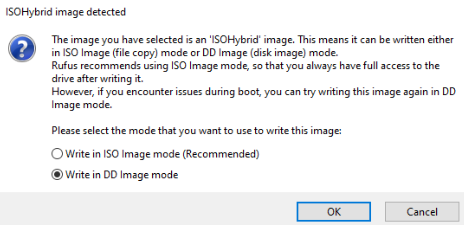
Note:
If you select Write in ISO Image mode while booting from the USB media, you will encounter the following error: "mount: wrong fs type, bad option, bad superblock on /dev/loop0"
Booting a Nodegrid from Bootable media
Before you begin, ensure that the following pre-requisites are met:
USB boot media with a current firmware version
Console connection through either a console port connection or the KVM interface on the Nodegrid
Boot from USB
To boot from the USB perform the following actions:
Turn off the Nodegrid device.
Insert the USB flash in the Nodegrid USB port.
Power the unit on.
During the boot process press ESC or DEL to enter BIOS:
If you use a keyboard directly connected to a Nodegrid appliance press the F2 key.
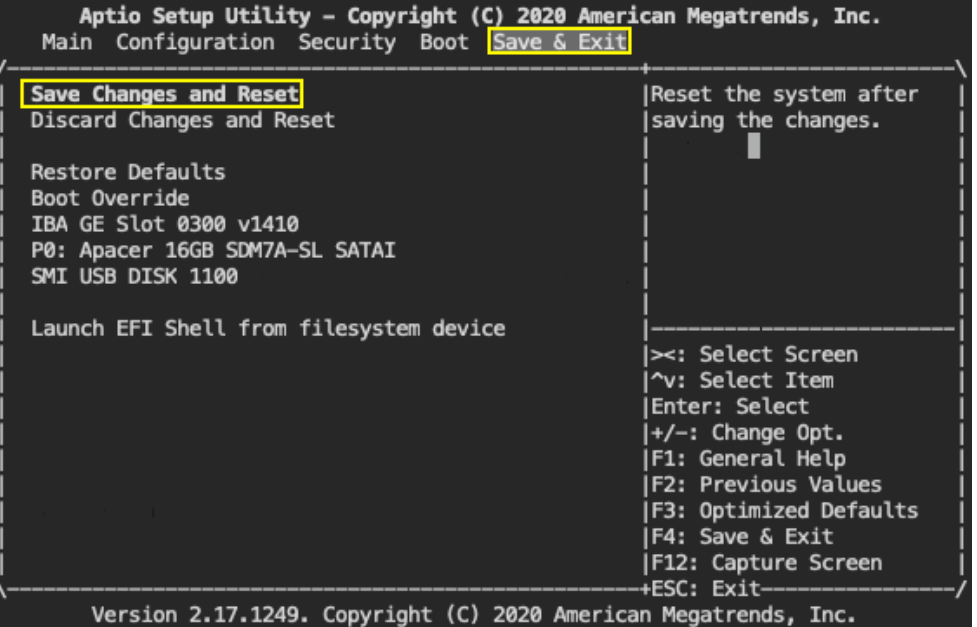
Navigate to the last tab.
Save & Exit.
Navigate to the USB flash option under Boot Override.
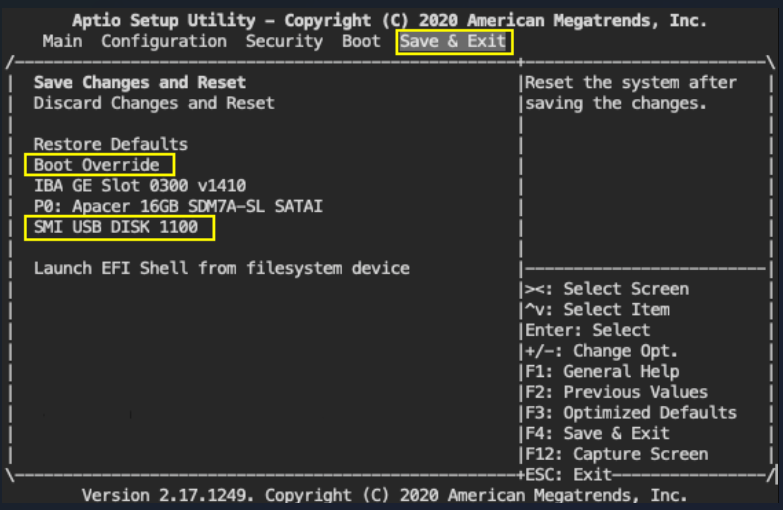
Note:
Nodegrid BSR systems require connecting through VGA + USB keyboard to enter BIOS using F2.
Since the BIOS on the Hive SR is not accessible you need to boot from USB media. Insert the USB media and restart the Hive SR. It will automatically boot from the USB media.Press Enter.
Nodegrid will boot from the USB device.
Note:
If Nodegrid doesn’t boot from the USB device but still from the HDD, then follow the steps in Appendix A
The Nodegrid platform will Ask to Accept the EULA type Accept to continue.
After the installation is complete it will ask to remove the USB device. Remove the USB device at this point and press ENTER to reboot.
The Nodegrid will be in a factory default state at this point. Follow the normal configuration process to finalize the installation of the unit.
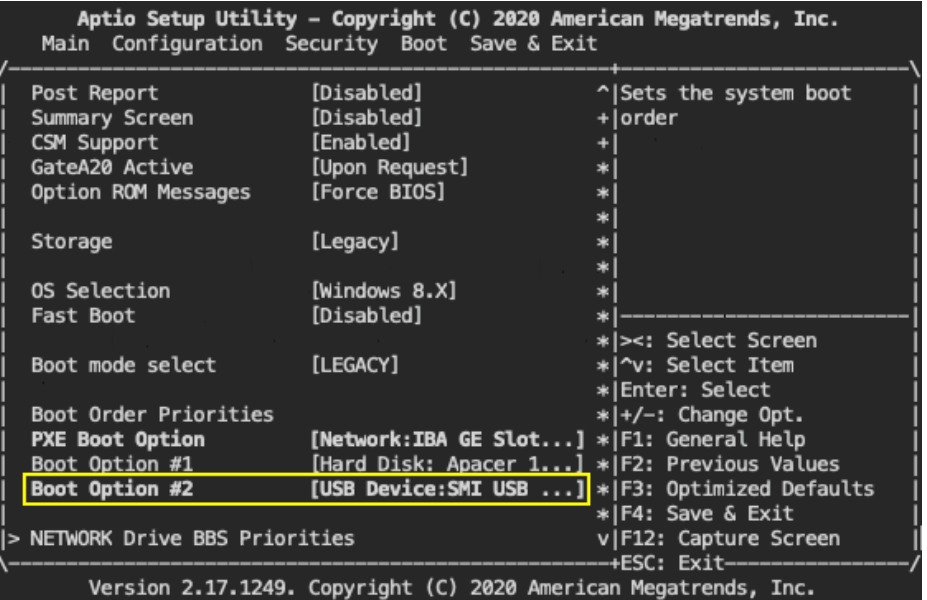
Adding a USB Boot Device to the List of Bootable Devices
If your Nodegrid device cannot boot directly from USB, you need to change the boot order priority. You must set the boot option 1 as boot from USB media.
In the BIOS go to the Boot menu and choose Boot Option #1.
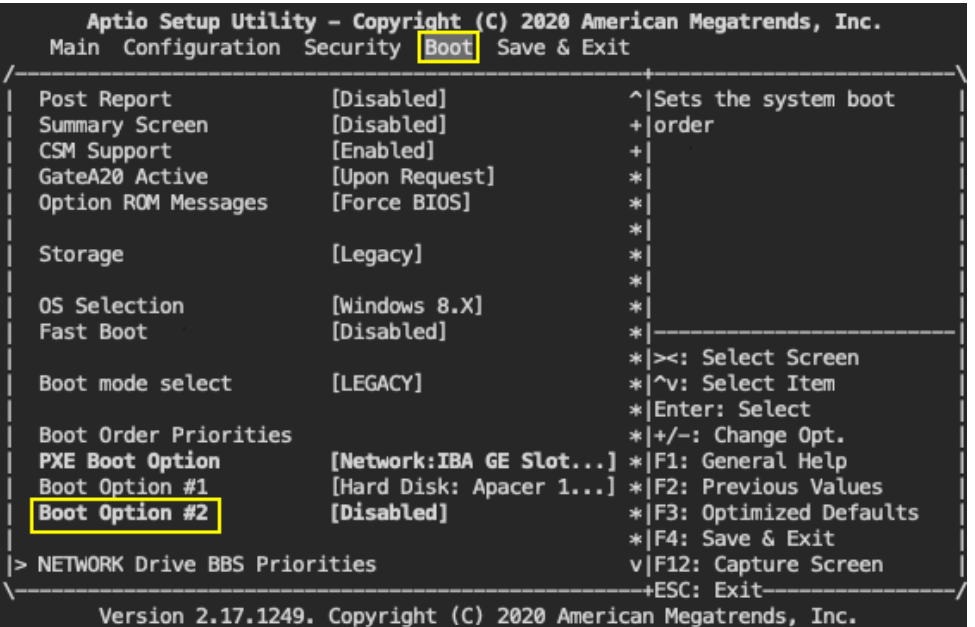
Add the USB device.
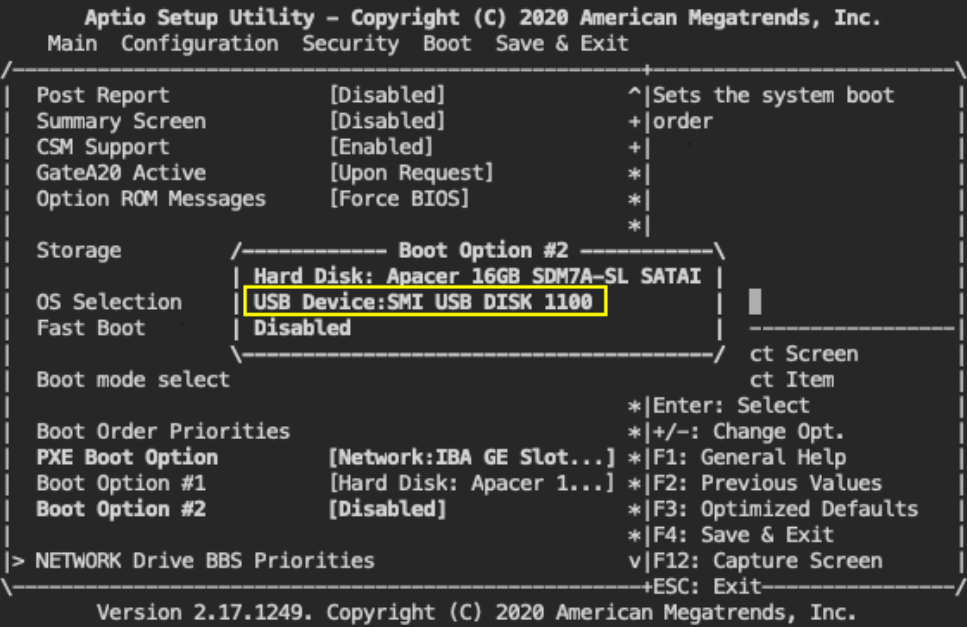
Save Changes and Reset.
Nodegrid will reboot and follow step 4 onwards from the Boot from the USB section to enter the BIOS.
Note: Once you have completed the Boot from USB media, you may want to remove the USB media from Boot Option #2.