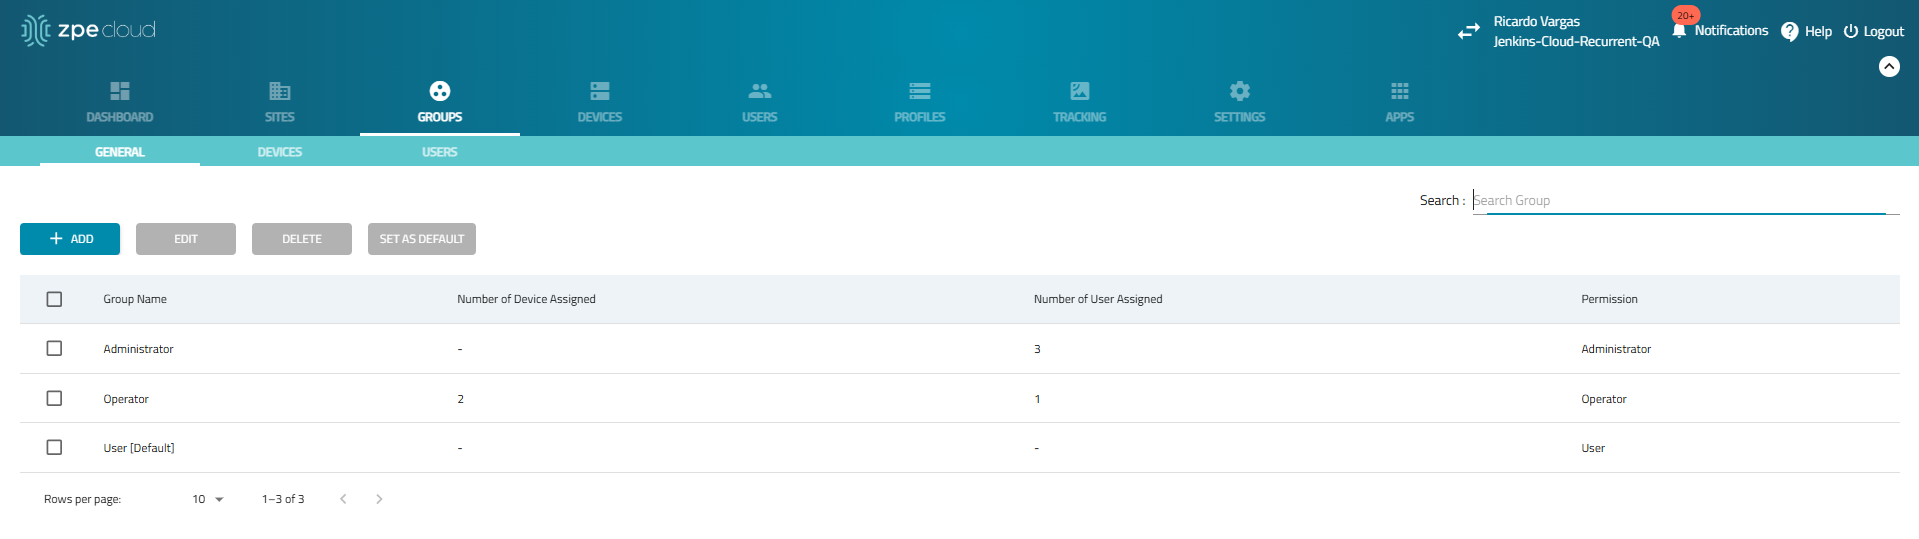
The General sub-tab within the Groups tab is where you manage the basic properties and actions for your groups. It provides options to add new groups, edit existing ones, delete groups, and perform group-specific configurations. It displays a list of all existing groups with relevant information such as the number of devices and users assigned to each group and their permissions.
Consider you need to create a new group for a project team. Using the General sub-tab, you can quickly add a group, assign the necessary devices and users, and set the appropriate permissions to ensure the team has the access they need.
Manage Groups
Add a Group
- Go to GROUPS :: GENERAL.
- Click +ADD (displays dialog). Enter the Name of the new Group.
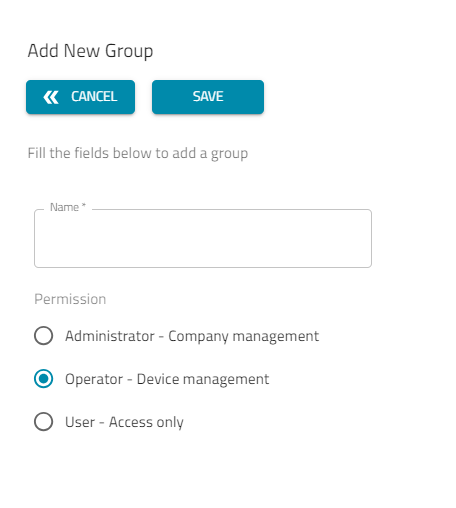
- Select the group’s permission level.
- Administrator: manages all devices, company credentials, and users within their company
- Operator: performs and creates operations within all devices assigned to their group
- User: can only access devices within the groups
- Click SAVE.
Edit a Group
To edit a group:
- Go to GROUPS :: GENERAL.
- Locate the Group and select the checkbox.
- Click EDIT (displays dialog).
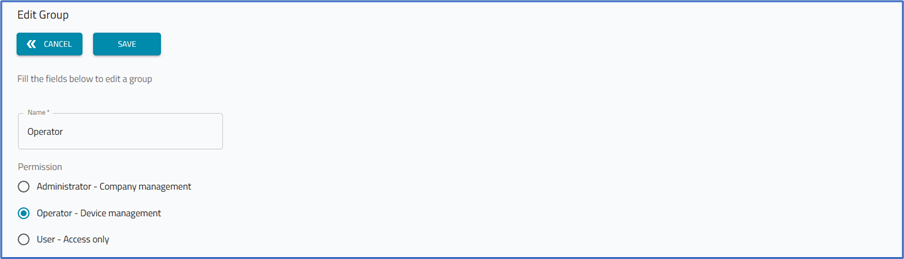
- Make changes, as needed.
- Click SAVE.
Delete a Group:
To delete one (or more) group(s):
- Go to GROUPS :: GENERAL.
- Locate the Group and select the checkbox.
- Click DELETE (displays dialog).
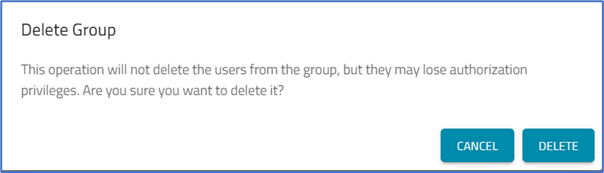
- On the Delete Group pop-up dialog, click DELETE.NOTEDefault groups cannot be deleted. Deleting a group does not delete users, but privileges on the group are removed.
Set the Default Group
- Go to GROUPS :: GENERAL.
- Locate the group and select the checkbox.
- Click SET AS DEFAULT (displays dialog).
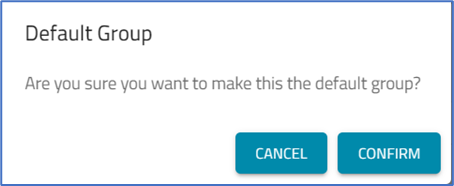
- On the Default Group pop-up dialog, click CONFIRM.NOTEThe default group is assigned to all new users logging in with SSO by Domain.